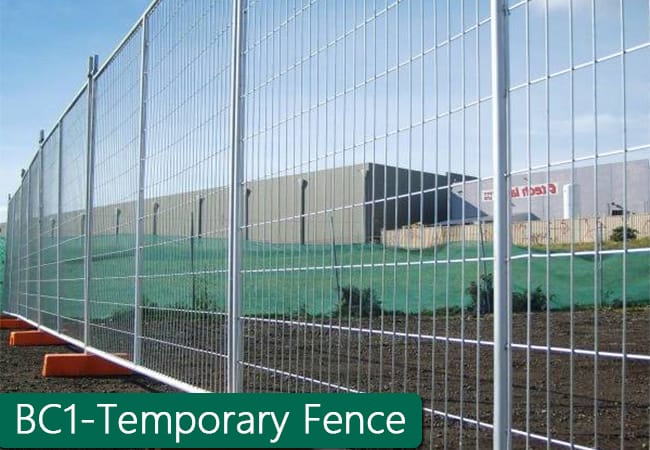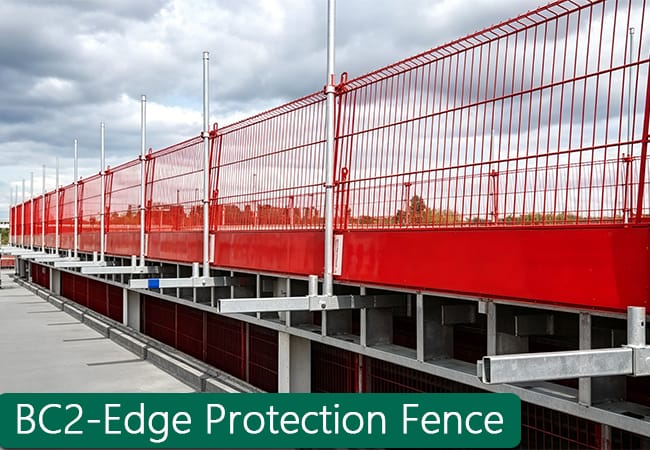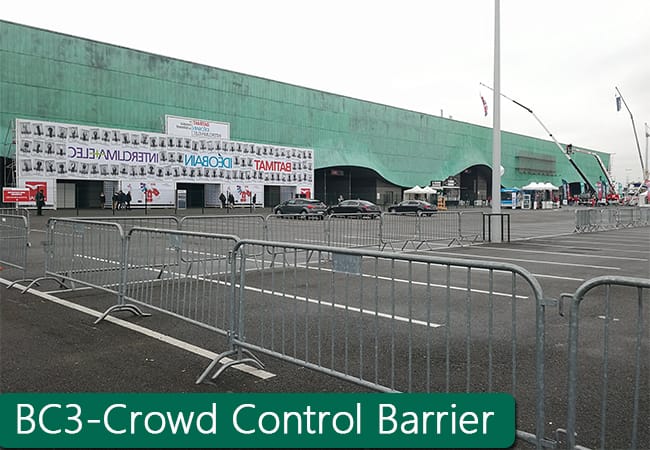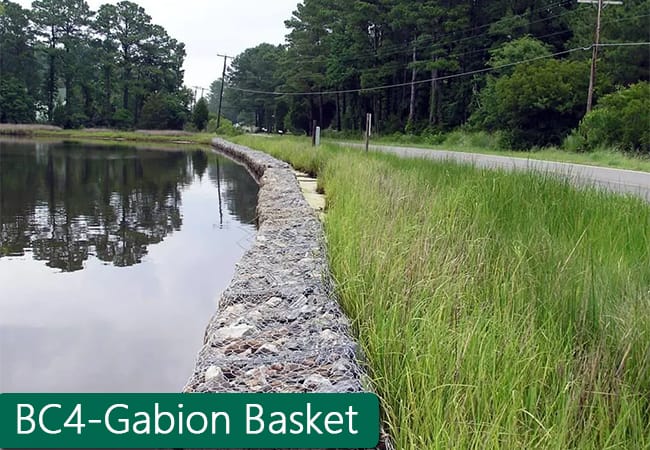


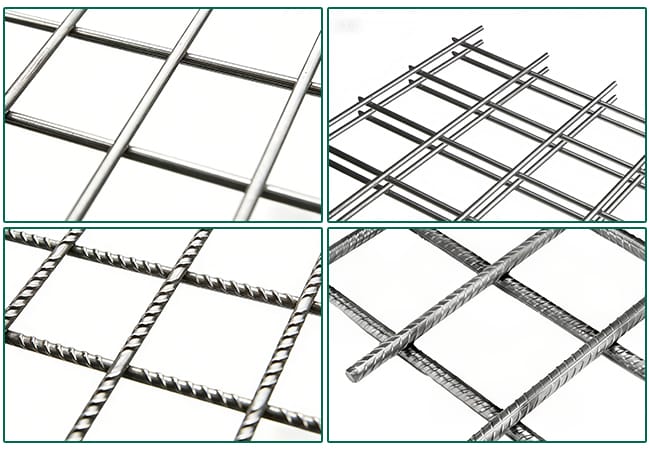
Welded Mesh Panel Core Advantages
1. High Structural Strength
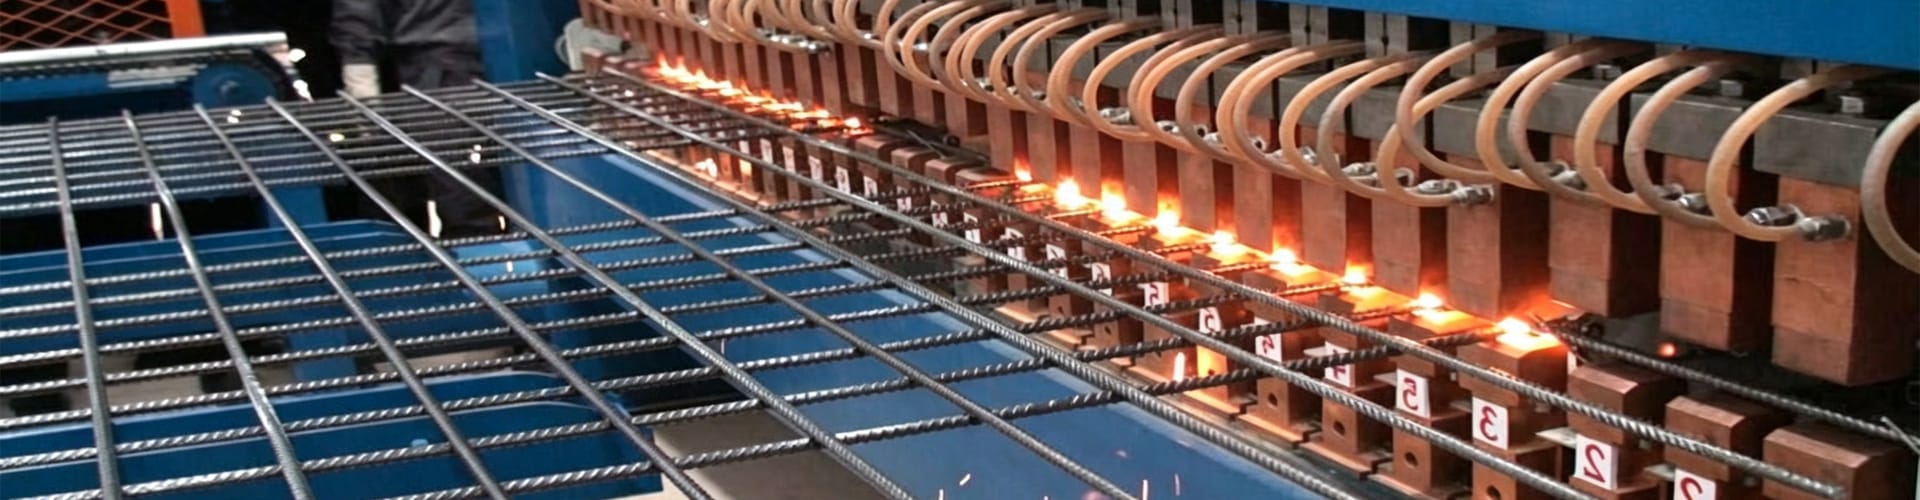
Precision-welded intersections – rigid, no wire slippage. Supports heavy loads, resists deformation.
2. Versatile & Customizable
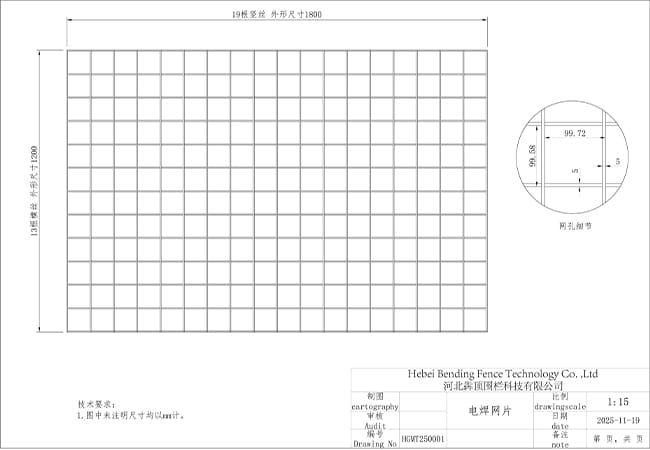
Wire dia 3‑12mm, hole sizes 25‑300mm, panel lengths 1.5‑5.8m, widths 1‑2.4m – any spec.
3. All‑Weather Corrosion Protection
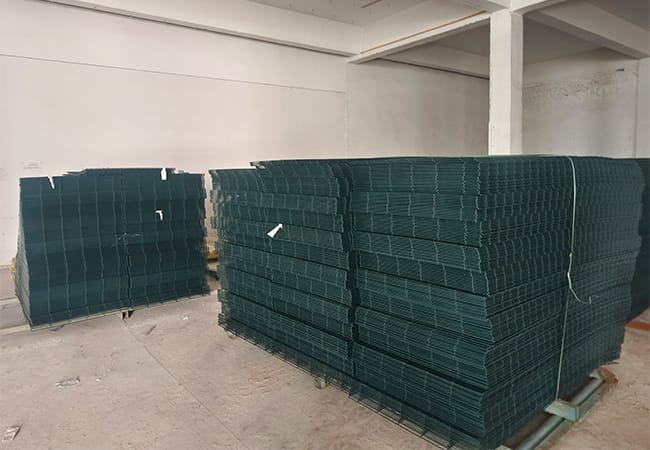
Hot-dip galvanized, PVC coated or galvanized + PVC – rust‑proof for construction and outdoor use.
4. Modular & Easy to Install
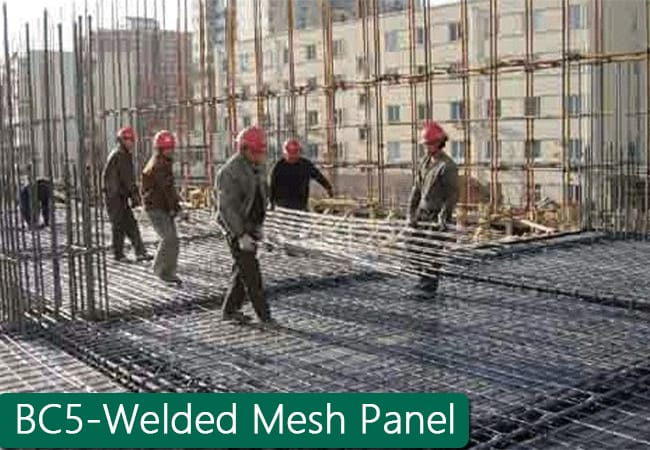
Standard panel size – cut, overlap or tie to support structure. No special tools.
Product Details– BDFENCE
Welded Mesh Panel Specifications
| Parameter | Specifications |
|---|---|
| Wire Diameter | 3mm, 4mm, 5mm, 6mm, 7mm, 8mm, 9mm, 10mm, 11mm, 12mm |
| Hole Size (Mesh Opening) | 25×25mm, 50×50mm, 50×100mm, 75×75mm, 75×150mm, 100×100mm, 100×200mm, 100×100mm, 150×150mm, 200×200mm, 100×300mm |
| Panel Length | 1.5m, 2m, 2.5m, 2.8m, 3m, 3.6m, 4m, 5m, 5.8m |
| Panel Width | 1m, 1.2m, 1.5m, 1.8m, 2m, 2.2m, 2.4m |
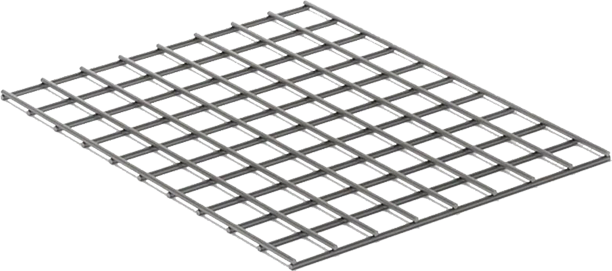
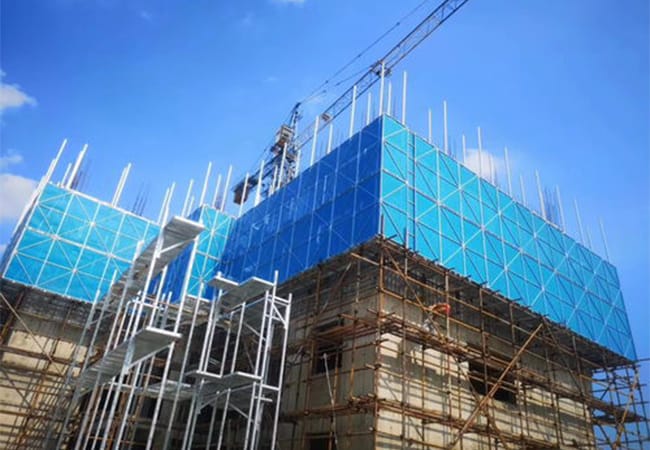
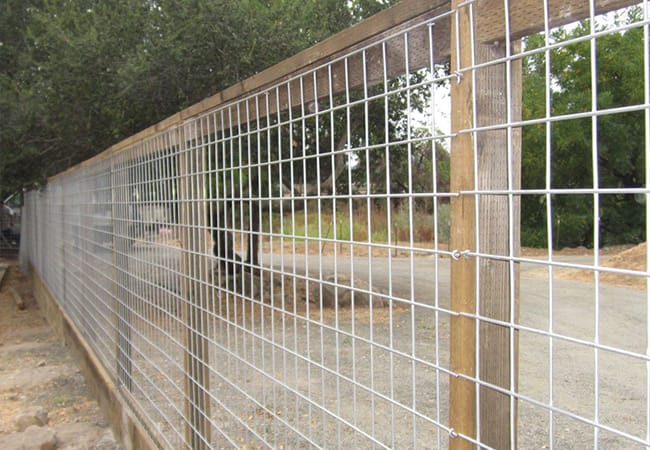
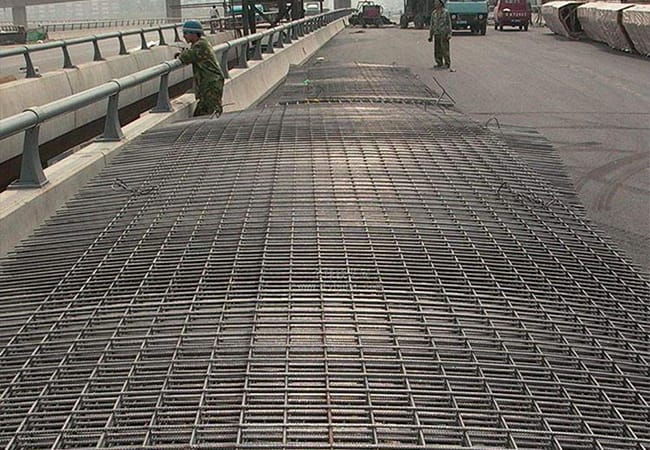
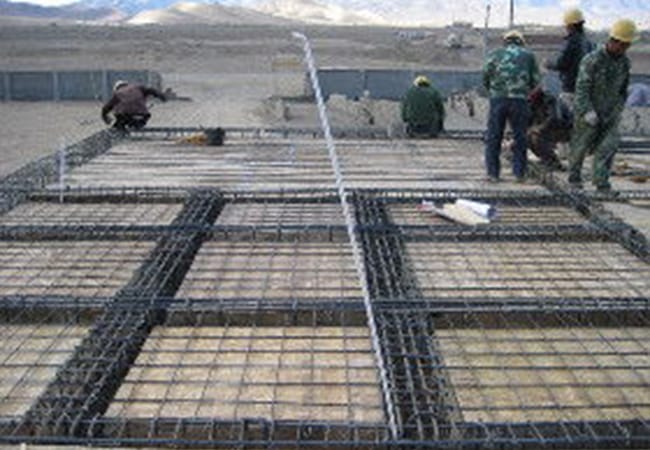
Applications of Welded Mesh Panel
Detailed Installation Process for Welded Mesh Panel
The installation of welded mesh panel requires strict adherence to operational standards and detailed steps to ensure the overall stability, safety and aesthetic appearance of the structure. Below is the expanded and detailed installation process, with in-depth explanations of each step, key points and precautions:
1. Site Preparation & Surface Leveling
Before starting the installation, thorough site preparation is the foundation to ensure the smooth progress of subsequent operations. First, clear the entire construction area, remove all obstacles such as stones, weeds, garbage and sundries that may affect the installation, and clean the installation surface (ground, wall or beam) to avoid interference with positioning and assembly. Then, use a level to check the flatness of the installation surface; if there are local uneven areas, level them with compacted gravel, sand or padding materials to ensure that the welded mesh panels can be installed stably and evenly. Next, according to the design drawings and actual installation requirements, use professional measuring tools (such as tape measure, theodolite and ink line) to mark the layout range and installation position of each welded mesh panel. The installation surface should be compacted with a compactor to achieve sufficient bearing capacity, and a layer of anti-corrosion cushion can be laid if necessary to improve durability. At the same time, mark the alignment lines to ensure the straightness and flatness of the entire welded mesh panel structure.
2. Welded Mesh Panel Positioning & Fixing
Welded mesh panel positioning and fixing are core links affecting the overall stability of the structure, and every detail needs to be strictly controlled. First, place the welded mesh panels accurately along the marked lines and check for any damage or deformation; ensure all mesh grids and welded joints are intact. Then, fix the panels to the installation surface or supporting frame: use expansion bolts, binding wires or welding (according to design requirements) to secure the panels at intervals of 30–40 cm, ensuring tight and firm connections. Align the panels accurately along the marked lines, and connect adjacent panels with overlapping edges (usually 5–10 cm overlap) to form an integrated unit. For multi-layer or vertical installation, fix the panels layer by layer to enhance structural stability and load-bearing performance. Check the flatness and alignment of each panel to avoid skewing during subsequent construction.
3. Joint Treatment & Reinforcement
After the welded mesh panels are fully positioned and fixed, joint treatment and reinforcement can be carried out. First, process the overlapping joints of adjacent panels: use binding wires to fasten the overlapping edges at intervals of 15–20 cm, or weld the joints for higher stability (for industrial or heavy-duty applications). For edge and corner positions, install additional reinforcement bars or edge strips to prevent mesh deformation and enhance structural strength. During treatment, ensure the joints are smooth and tight, avoiding gaps that may affect the overall performance. For concrete reinforcement applications, fix the panels with support spacers to ensure the correct embedding depth and position, which guarantees the reinforcement effect of the concrete structure.
4. Surface Inspection & Protection
Surface inspection and protection directly affect the structural integrity and service life of the welded mesh panel. First, after joint treatment is completed, check the entire surface of the panels to ensure no loose connections, damaged mesh or deformed grids. Then, carry out surface protection treatment according to the use environment: if the panels are used outdoors or in humid environments, apply anti-rust paint or sealant to the joints and damaged areas to enhance corrosion resistance. Pay special attention to protecting the welded joints and surface coating (such as galvanizing, PVC coating) to avoid damage that may affect the service life. Double-check all connection points and surface conditions to ensure the panels are in good condition for long-term use.
5. Alignment & Stability Check
After the installation, joint treatment and surface protection of welded mesh panels are completed, a comprehensive alignment and stability check is required to ensure that the installation quality meets the standards. First, use a level and ruler to check the flatness and straightness of the panels: flatness error should not exceed 5mm per meter, and horizontal/vertical alignment should be consistent with the design. Then, check the overall structural stability: apply pressure or impact force to the panels to ensure no obvious shaking, displacement or loose connections. Check the tightness of all fixing components and the integrity of the mesh structure. If any problems are found (such as skewing, loose connections, damaged mesh), adjust and reinforce them immediately to ensure structural safety and durability.
6. Site Cleaning & Final Acceptance
The final step of the installation process is site cleaning and acceptance, which ensures the aesthetic appearance of the structure and confirms that the installation is up to standard. First, remove excess debris, bolt scraps, welding slag and installation tools from the construction site, and clean the surface of the welded mesh panels to maintain a neat appearance. Then, carry out comprehensive acceptance according to the design drawings and installation standards: check the panel dimensions, alignment, flatness, fixing firmness and joint treatment; check for mesh damage, rust, or loose components; verify load-bearing performance and corrosion resistance. After the acceptance is qualified, the installation work is officially completed. If unqualified items are found, they should be rectified immediately until they meet the acceptance standards.
Note
During the entire installation process, construction personnel should wear protective equipment (such as safety helmets, gloves and safety shoes) to ensure construction safety. In addition, pay attention to the protection of the welded mesh panel surface during installation to avoid damage to the surface treatment layer (such as galvanizing, PVC coating) which may affect the corrosion resistance and service life of the structure. For welding operations, strictly follow safety specifications to prevent fire and personal injury.
Why Choose BDFENCE for Welded Mesh Panel?
1. Premium Low‑Carbon Steel & Dual Coating
We use Q195/Q235 steel wire with hot-dip galvanizing (ISO 1461) + optional PVC coating. Rust‑proof, rigid – 25+ years life.
2. Full Range – Wire Diameters, Mesh Openings, Panel Sizes
Wire dia 3‑12mm, hole sizes from 25×25mm to 200×300mm, panel lengths 1.5‑5.8m, widths 1‑2.4m. Any custom size available – for construction reinforcement, industrial guarding, safety fencing.
3. High Load‑Bearing & Flatness
Precision‑welded grid ensures consistent opening. Panel stays flat – no distortion during transport or installation.
4. Easy Installation – Cut, Overlap, Clip
No special tools. For fencing: clip to posts. For concrete: lay and overlap. For partitions: bolt to frames.
5. Factory Direct – Quality & Price
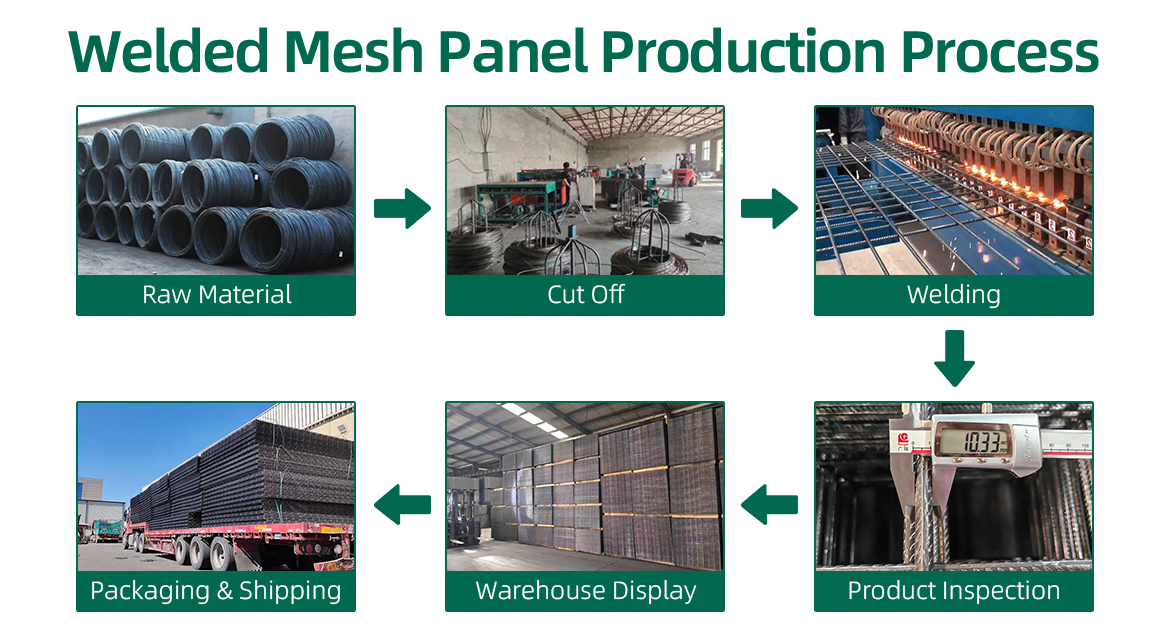
In‑house wire drawing, welding, galvanizing, coating. Strict QC, fast lead time (10‑12 days), competitive pricing.
6. Global Construction & Industrial Experience
Supplied floor heating, concrete slabs, machine guards, safety fences across Germany, USA, Australia, UK, UAE and more.
📌 In short: Heavy‑duty welded grid + full size range + dual coating + versatile installation = BDFENCE, your trusted welded mesh panel partner.