
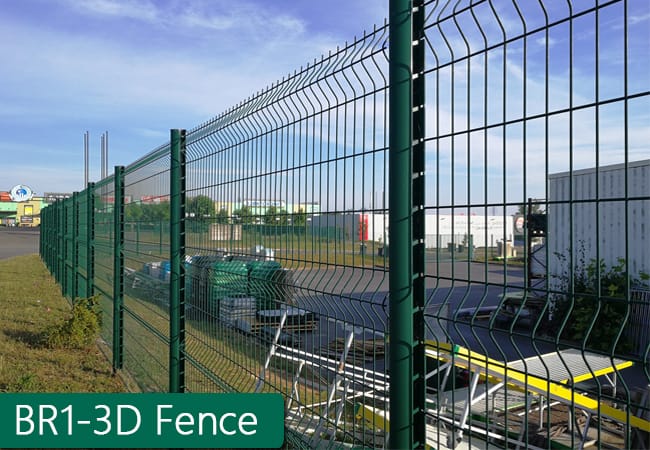

3D Fence Core Advantages
1. High Rigidity & Anti-Climb
V-shaped triangular bends increase panel stiffness – resists climbing and impact.
2. No Sagging, Long Span
3D structure maintains flatness even with 3m width – no deformation over time.
3. Superior Corrosion Protection
Hot-dip galvanized + powder coated or PVC/PE coated – 25+ years rust-free.
4. Fast, Welding-Free Installation
Modular panels + standard posts with clips – reduces labor and installation time.
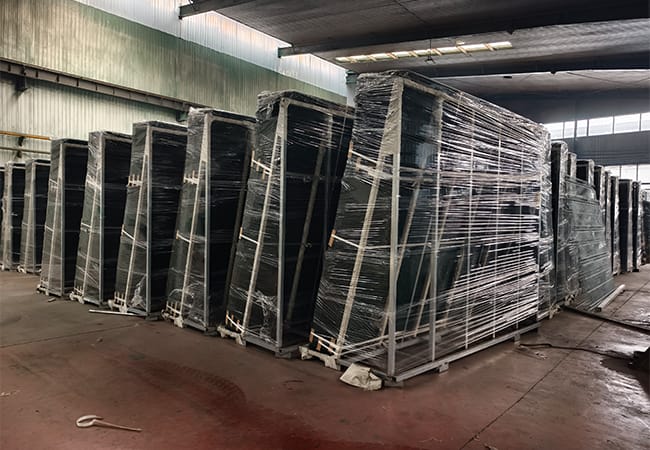
Product Details– BDFENCE
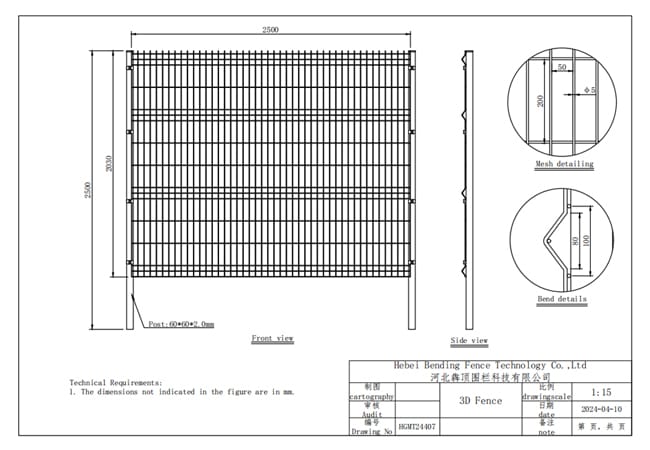
3D Fence Specifications
| Parameter | Specifications |
|---|---|
| Panel Height | 830 / 1030 / 1230 / 1530 / 1830 / 2030 / 2230 / 2430 mm |
| Panel Width | 2.0 / 2.2 / 2.5 / 3.0 m |
| Line Wire Diameter | 4.0 / 4.5 / 5.0 / 6.0 mm |
| Cross Wire Diameter | 4.0 / 4.5 / 5.0 / 6.0 mm |
| Mesh Opening | 50×100 / 50×200 / 55×200 / 75×150 / 100×300 mm |
| Steel Grade | Low-carbon high-tensile steel (Q235) |
| Surface Treatment | Hot-dip galvanized + powder coated / PVC / PE coated (RAL colors) |
.png)
Post specifications
| Post Type | Dimensions |
|---|---|
| Peach Post (Oval) | 50×70 mm, 70×100 mm |
| Square Post | 40×40, 50×50, 60×60 mm |
| Rectangular Post | 30×50, 40×60, 60×80 mm |
| Round Post | 48 mm, 60 mm, 75 mm (diameter) |
| I Shape Post | 44×70 mm, 50×100 mm |
| CM Post | 55×65 mm, 65×95 mm |
| BD Post | 60×80 mm |
| Post Cap | Metal or plastic caps (matching shape) |
.png)
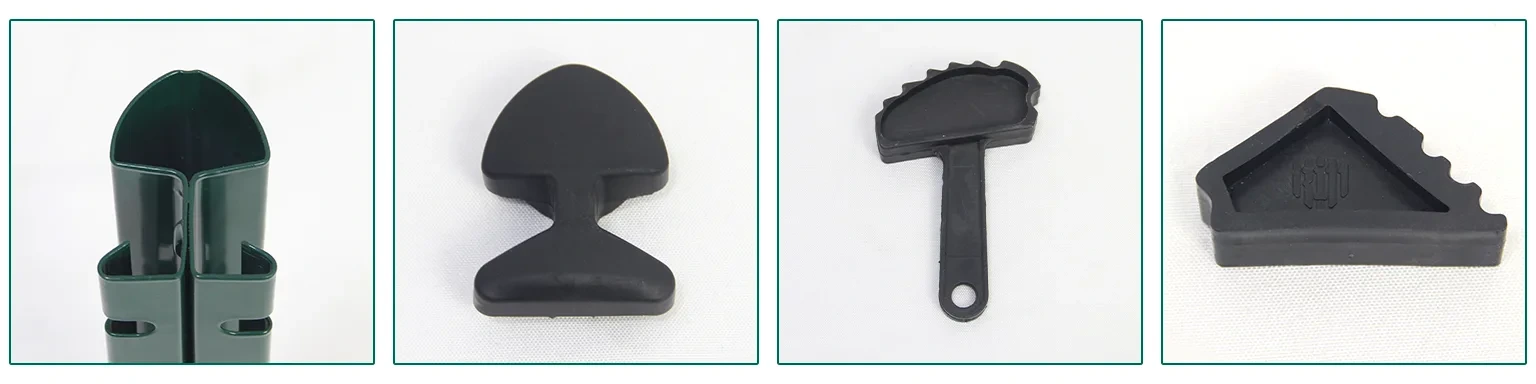
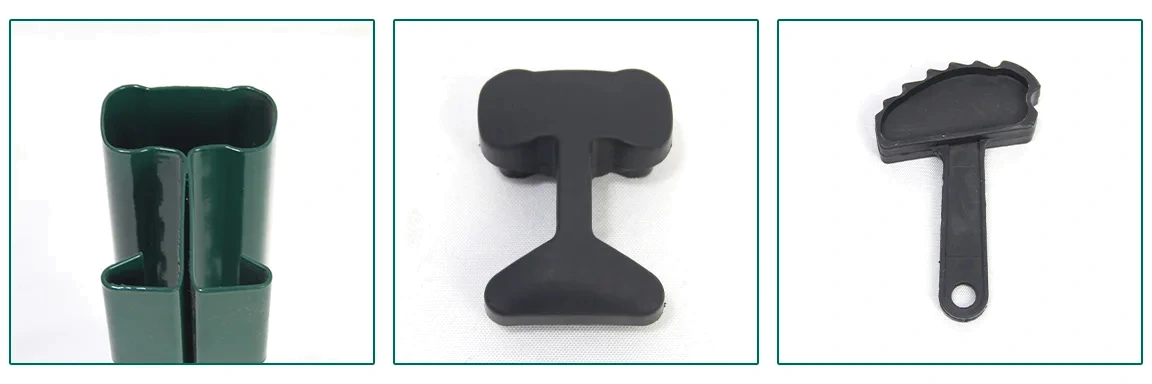
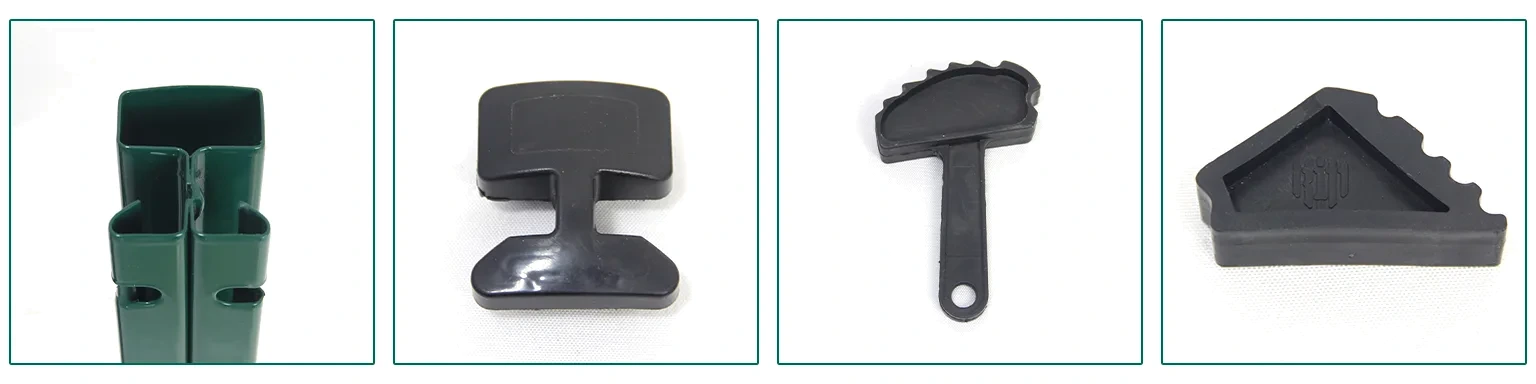
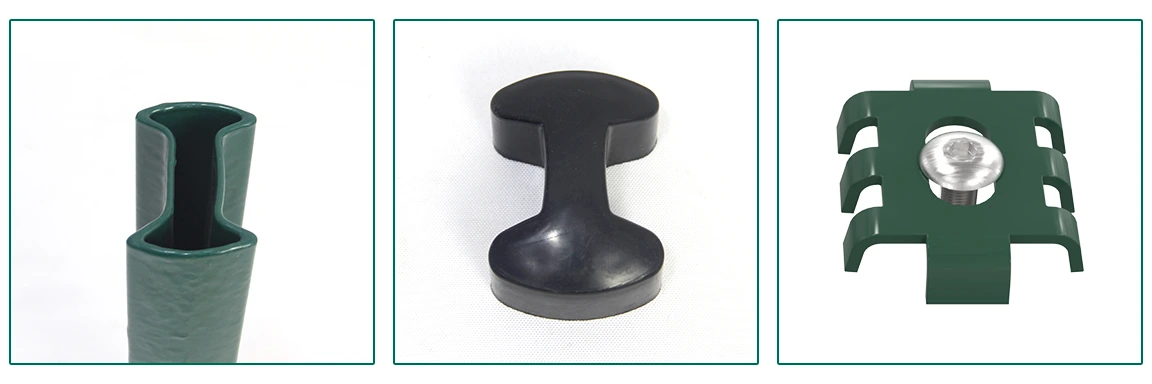
Special Accessories
- Peach Post
- BD Post
- CM Post
- Square Post
- Rectangle Post
- I Post
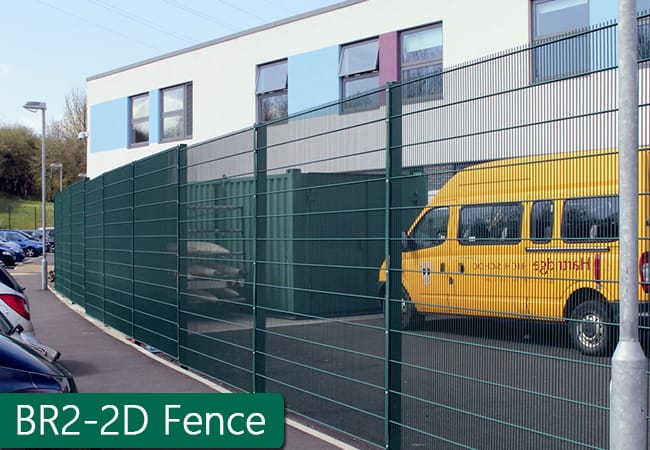
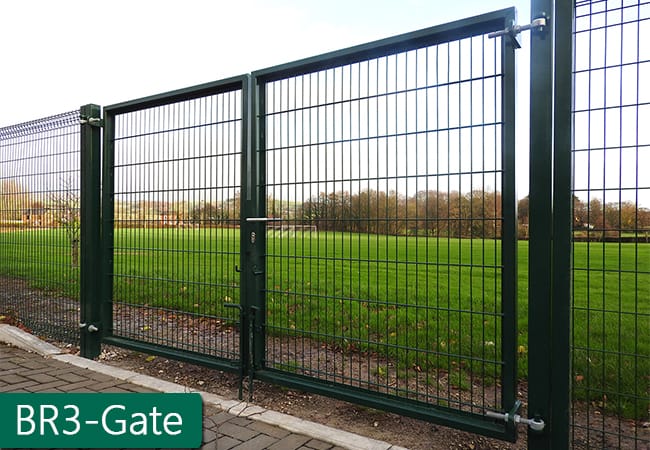
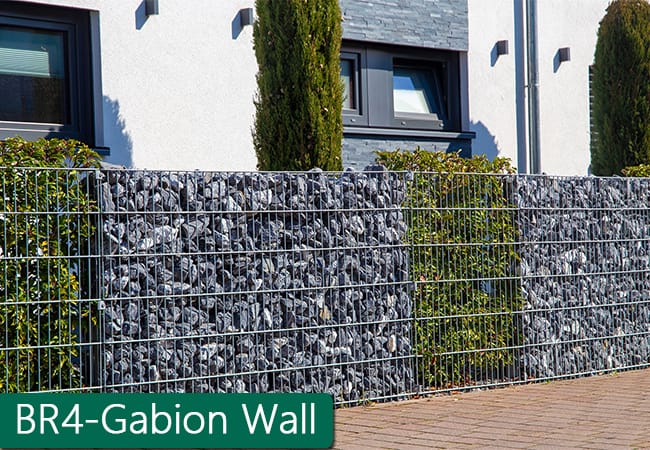
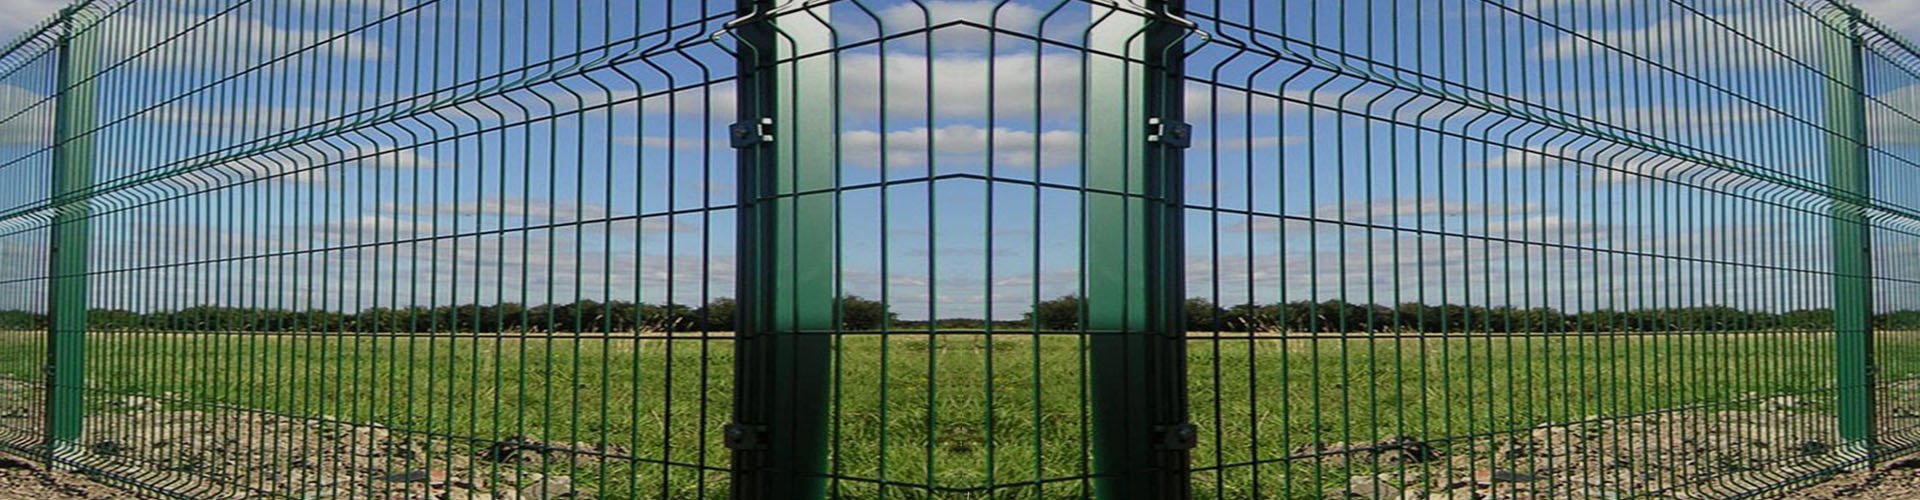
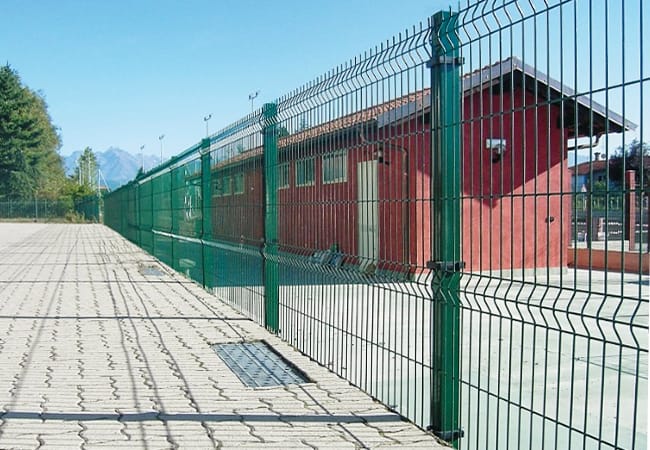
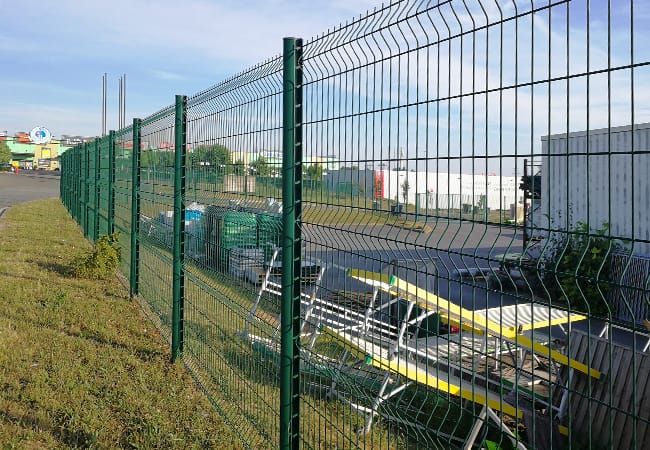
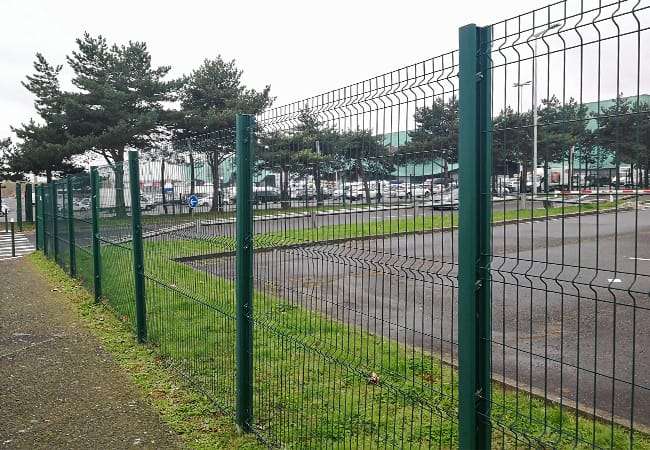
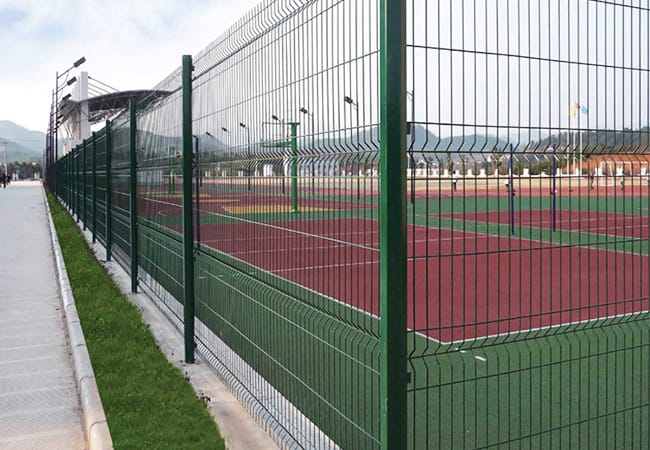
Applications of 3D fence
Detailed Installation Process for 3D Fence
1. Site Preparation & Marking
Before starting the installation, thorough site preparation is the foundation to ensure the smooth progress of subsequent operations. First, clear the entire construction area, remove all obstacles such as stones, weeds, garbage and sundries that may affect the installation, and clean the ground to avoid interference with positioning and drilling. Then, use a level to check the flatness of the installation ground; if there are local uneven areas, level them with fine soil or concrete to ensure that the fence can be installed vertically and stably. Next, according to the design drawings and actual installation requirements, use professional measuring tools (such as tape measure, theodolite and ink line) to mark the installation positions of each fence post and 3d fence panel. The spacing between posts should be strictly in line with the design specifications (usually 2-3 meters, which can be adjusted according to the fence height and load-bearing requirements), and the marking lines should be straight and clear to ensure that the overall layout of the fence is neat and consistent. At the same time, mark the depth of the post holes on the ground according to the height of the posts (generally, the buried depth of the posts is 1/3-1/4 of the total height, ensuring sufficient stability to resist wind and external impact).
2. Post Installation
Post installation is the core link affecting the overall stability of the 3d fence, and every detail needs to be strictly controlled. First, use an electric drill or excavator to dig holes at the marked positions; the diameter of the holes should be 1.5-2 times the diameter of the posts to leave enough space for pouring concrete and ensuring the firmness of the posts. After digging the holes, clean the soil and debris at the bottom of the holes to avoid uneven stress on the posts. Then, place the fence posts vertically into the holes, and use a plumb line to check the verticality of the posts (both front and back, left and right directions should be perpendicular to the ground, with an error not exceeding 3mm), and use wooden stakes or temporary supports to fix the posts to prevent them from tilting during concrete pouring. Next, pour high-strength concrete (cement, sand and gravel ratio is usually 1:2:3) into the holes, and continuously tamp the concrete with a tamper during the pouring process to eliminate air bubbles and ensure that the concrete is closely combined with the posts and the hole wall. After pouring, smooth the surface of the concrete and make it slightly higher than the ground to prevent water accumulation from eroding the posts. Finally, let the concrete fully solidify; the solidification time is not less than 24 hours (the solidification time should be appropriately extended in low temperature or humid environment) to ensure that the posts are firmly fixed in the ground and cannot be shaken.
3. Fence Panel Positioning
After the concrete of the posts is completely solidified, the positioning of the 3d fence panel can be carried out. First, check the pre-drilled holes on the posts and the fence panel to ensure that the hole positions are accurate, the hole diameter matches the fasteners, and there is no deformation or blockage. Then, use a crane or manual lifting tool to lift the 3d fence panel (pay attention to protecting the surface of the panel to avoid scratches or damage to the bending radian), and align the pre-drilled holes on the panel with the mounting holes on the two adjacent posts. During the alignment process, adjust the height and position of the panel: the bottom of the panel should be 5-10cm above the ground to prevent water accumulation and corrosion, and the 3d radian of the panel should be smooth and consistent with the design requirements, without obvious wrinkles or deformation. At the same time, ensure that the gap between adjacent panels is uniform (usually 2-5mm) to avoid uneven stress caused by thermal expansion and contraction. After adjusting to the correct position, use temporary fixing clips to fix the panel and the posts temporarily to prevent the panel from shifting during the fastening process.
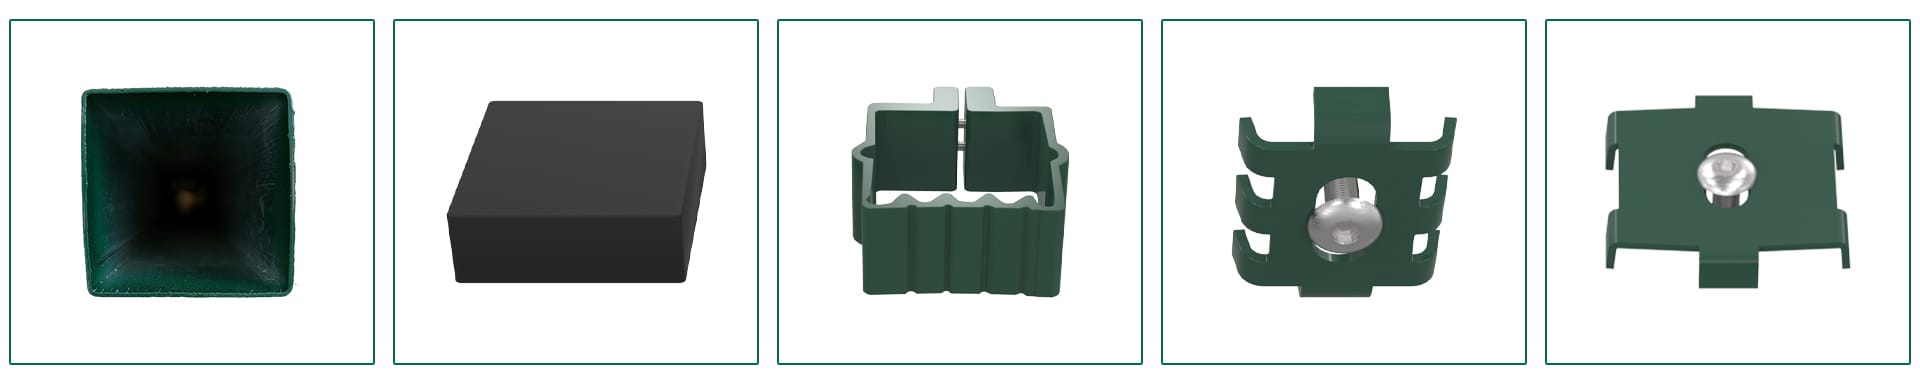
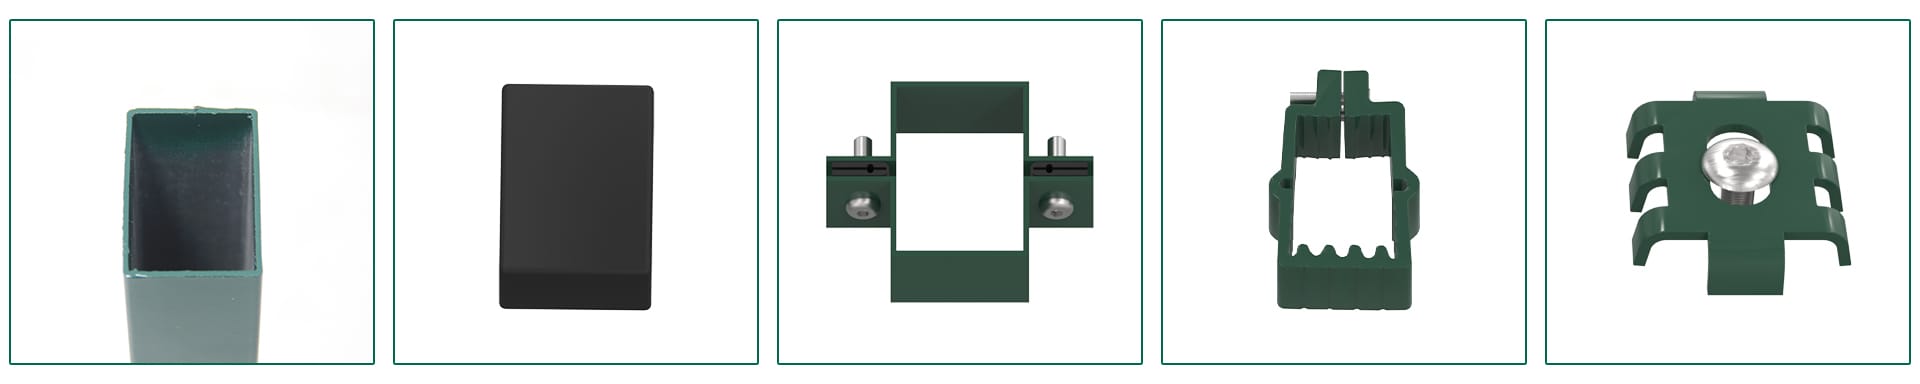
4. Fastening with Special Accessories
The fastening of special accessories directly affects the connection firmness between the fence panel and the posts, and is an important guarantee for the service life of the fence. First, select matching special accessories according to the model of the fence, including screws, nuts, washers, brackets and fixing clips (preferably anti-rust and anti-loosening accessories to improve corrosion resistance and stability). Then, pass the screws through the pre-drilled holes of the panel and the posts, and install washers and nuts in sequence; when tightening, use a torque wrench to control the torque (usually 30-50N·m) to ensure that the screws are tightened evenly, without over-tightening (to avoid damaging the panel or posts) or under-tightening (to avoid looseness). For the bending part of the fence panel, special curved brackets should be used to fix it, ensuring that the bending part is closely attached to the posts and the stress is uniform. After fastening all the accessories, check each connection point again to confirm that there is no looseness, and the accessories are installed in place, without missing or misplaced parts.
5. Level & Integrity Check
After the installation of the fence panel and accessories is completed, a comprehensive level and integrity check is required to ensure that the installation quality meets the standards. First, use a level and plumb line to check the levelness of the fence panel and the verticality of the posts again: the levelness error of the panel should not exceed 2mm per meter, and the verticality error of the posts should not exceed 3mm in total. Then, check the overall alignment of the fence: the entire fence should be straight, the bending radian of each panel should be consistent, and there should be no obvious skew or unevenness. At the same time, check the connection firmness of each part: gently shake the fence panel and posts to ensure that there is no obvious shaking, and the screws and accessories are not loose. If any problems are found (such as skew, looseness, uneven gap), adjust them in time: if the posts are skewed, you can chisel the concrete around the posts, adjust the verticality and re-pour the concrete; if the panel is uneven, adjust the position of the fasteners or add gaskets to ensure the flatness. In addition, check the bending part of the panel to ensure that there is no deformation, and the radian is smooth and in line with the design requirements.
6. Cleaning & Acceptance
The final step of the installation process is cleaning and acceptance, which ensures the aesthetic appearance of the fence and confirms that the installation is up to standard. First, use a clean cloth or air compressor to remove dust, debris, concrete residues and fingerprints on the surface of the fence posts, panels and accessories, especially the bending part and connection points, to avoid affecting the surface finish and corrosion resistance. If there are scratches or stains on the surface of the fence, use professional cleaning agents to clean them (avoid using corrosive cleaning agents to prevent damage to the surface treatment layer). Then, carry out a comprehensive acceptance according to the design drawings and installation standards: check the installation position, spacing, verticality, levelness and connection firmness of the fence; check whether the surface of the fence is intact, without scratches, deformation, rust or other defects; check whether the special accessories are complete and installed in place. After the acceptance is qualified, the installation work is officially completed. If unqualified items are found, they should be rectified in time until they meet the acceptance standards.
Note
During the entire installation process, construction personnel should wear protective equipment (such as safety helmets, gloves and safety shoes) to ensure construction safety. In addition, pay attention to the protection of the fence surface during installation to avoid damage to the surface treatment layer (such as galvanizing, spraying) which may affect the corrosion resistance and service life of the fence.
Why Choose BDFENCE for 3D Fence?
1. Premium Steel & Triple-Layer Coating
We use high-tensile low-carbon steel with hot-dip galvanizing + powder/PVC/PE coating. Withstands rust, UV and harsh weather – 25+ years service life.
2. Full Customization – Heights, Widths, Posts & Colors
8 standard heights (830–2430mm), 4 widths (2.0–3.0m), wire diameters up to 6.0mm. Choose from peach, square, round, I, CM, BD posts. RAL color matching – tailored for residential, industrial, or commercial projects.
3. V-Shaped 3D Design for Extra Rigidity
Triangular bends prevent panel sagging and deformation. Maintains tension across long spans – ideal for large perimeters.
4. Fast, Welding-Free Installation
Modular panels + clip system reduces labor cost. No on-site welding. Saves 30% installation time.
5. Expert Pre-Sales & After-Sales Support
Free CAD layout, post selection guide, and color visualization. After-sales: 24/7 technical support and spare clips/post caps.
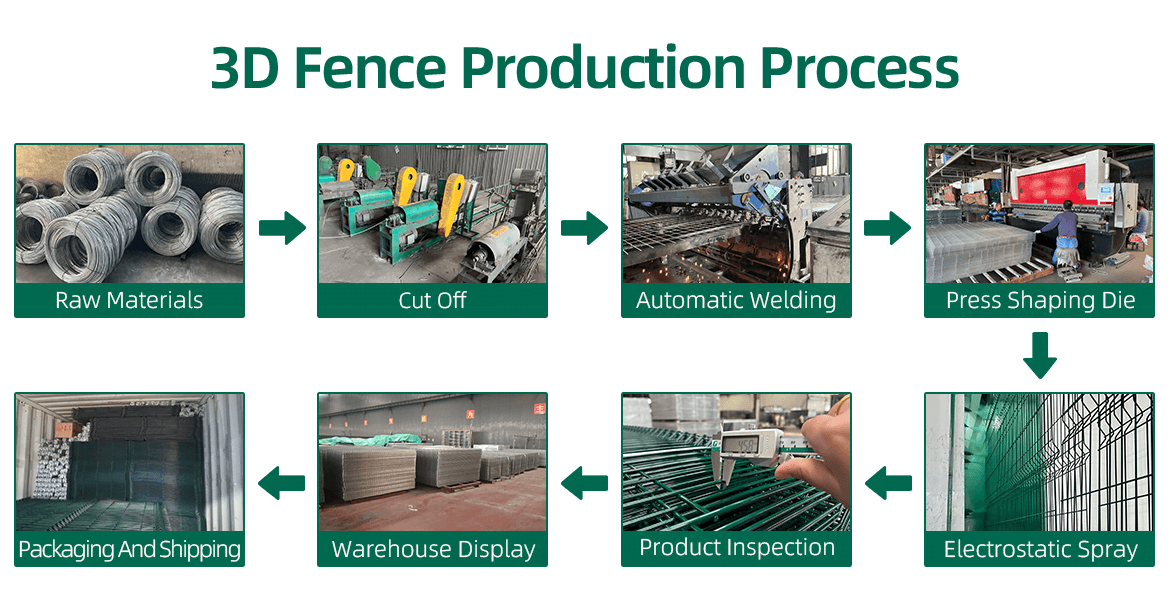
6. Full Industrial Chain – Factory Direct
From wire drawing to welding, shaping to coating, post roll-forming to packaging – all in-house. Fast lead time (15 days), strict QC, competitive price.
📌 In short: V-shape 3D rigidity + full coating protection + flexible post systems + fast installation = BDFENCE, your trusted 3D fence supplier.