

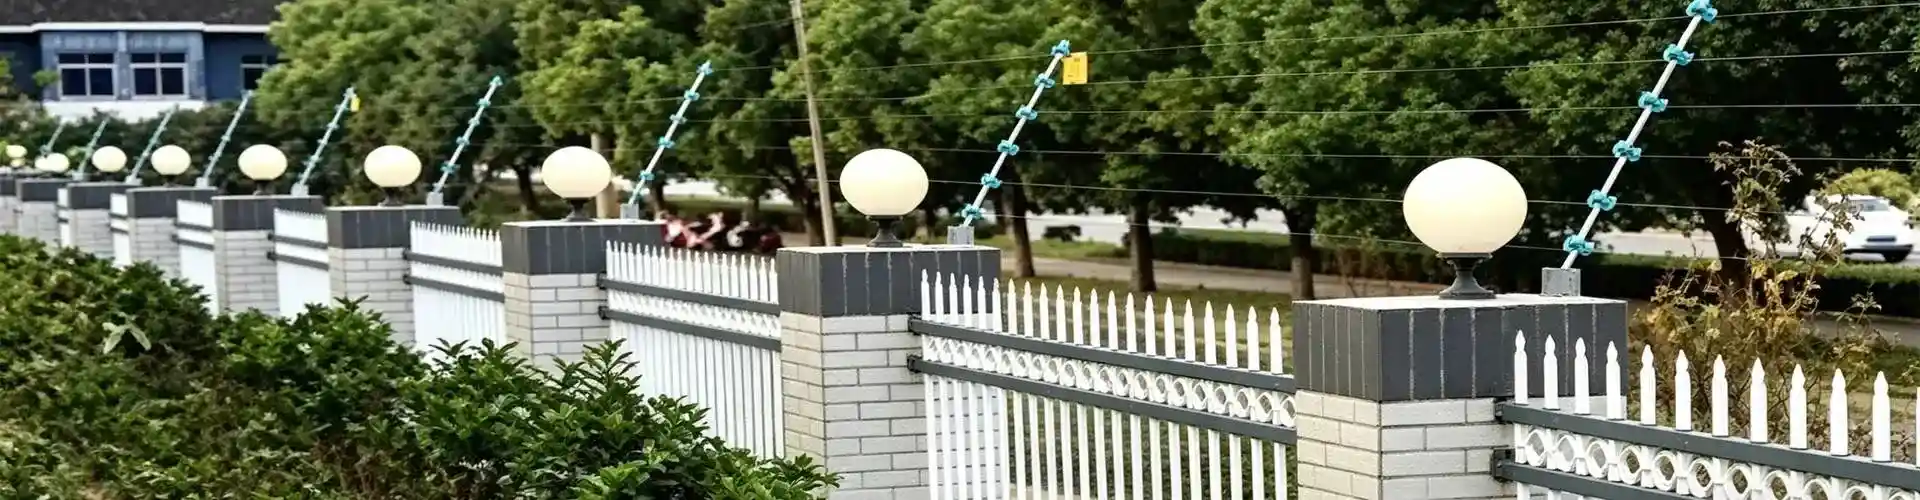
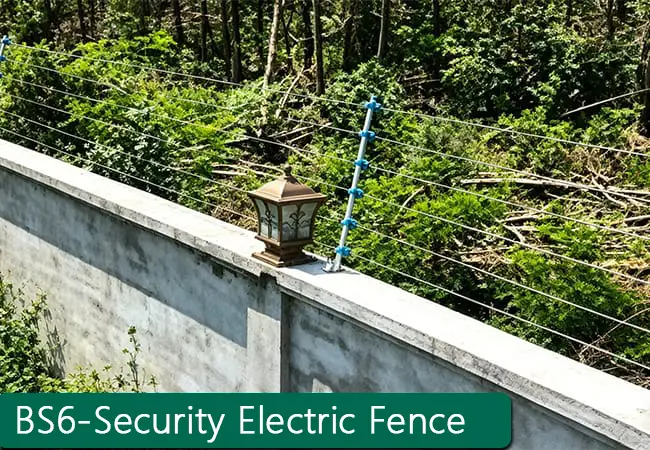
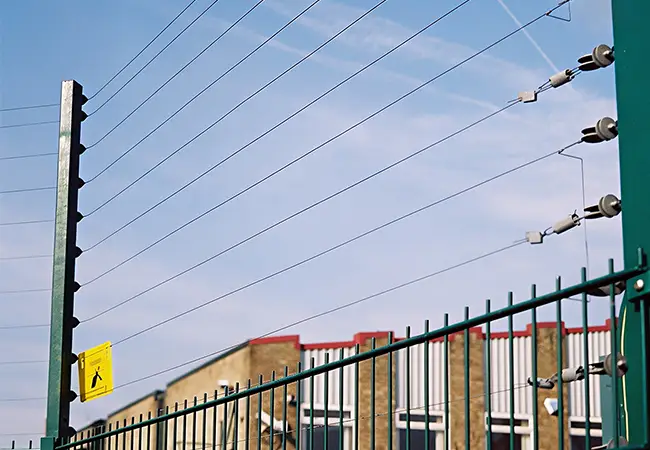
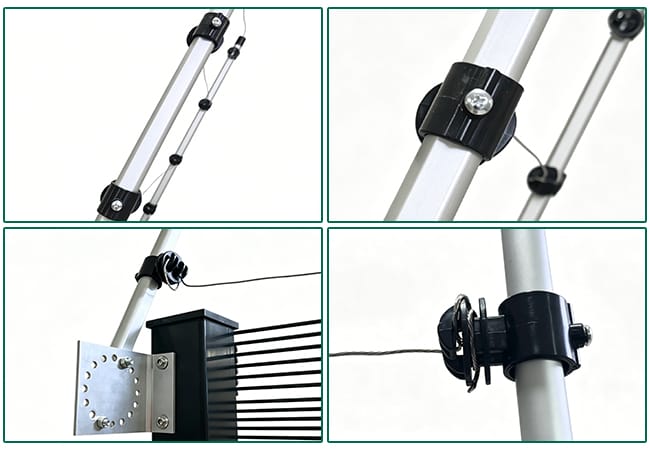
Security Electric Fence
1. Anti-Climb & Anti-Cut
High-strength alloy wires with insulation – any touch or cut triggers instant alarm.
2. Intelligent Pulse Detection
Pulse high voltage (5000V–10000V) detects intrusion while being non‑lethal, safe to humans/animals.
3. All-Weather Durability
Anti‑UV, rain, snow and corrosion – insulated components perform in harsh outdoor environments.
4. Fast Installation & Low Maintenance
Modular host and line design. Easy to install on walls, fences, or standalone posts.
Product Details– BDFENCE
Electrical & Line Parameters
| Parameter | Specifications |
|---|---|
| Number of Lines | 4 / 6 / 8 / 10 / 12 lines |
| Line Spacing | 80mm / 100mm / 120mm / 150mm |
| Alloy Wire Diameter | 2.5mm / 3.0mm / 3.5mm |
| Working Voltage | 5000V – 10000V (pulse high voltage) |
| Host Input Voltage | AC 220V / DC 12V / Solar Power System |
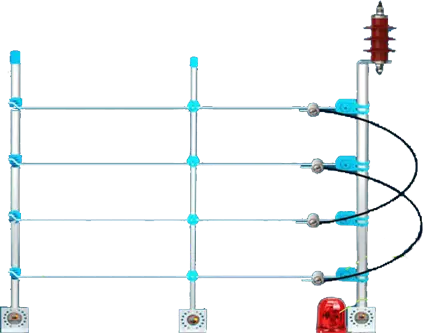
Structure & Post Parameters
| Parameter | Specifications |
|---|---|
| Total Height | 1.2m / 1.5m / 1.8m / 2.0m / 2.5m |
| Insulation Column Height | 1.0m / 1.2m / 1.5m / 1.8m / 2.0m |
| Post Spacing | 2.0m / 2.5m / 3.0m / 4.0m |
| Post Material | Stainless Steel 304 / Aluminum Alloy / Galvanized Steel |
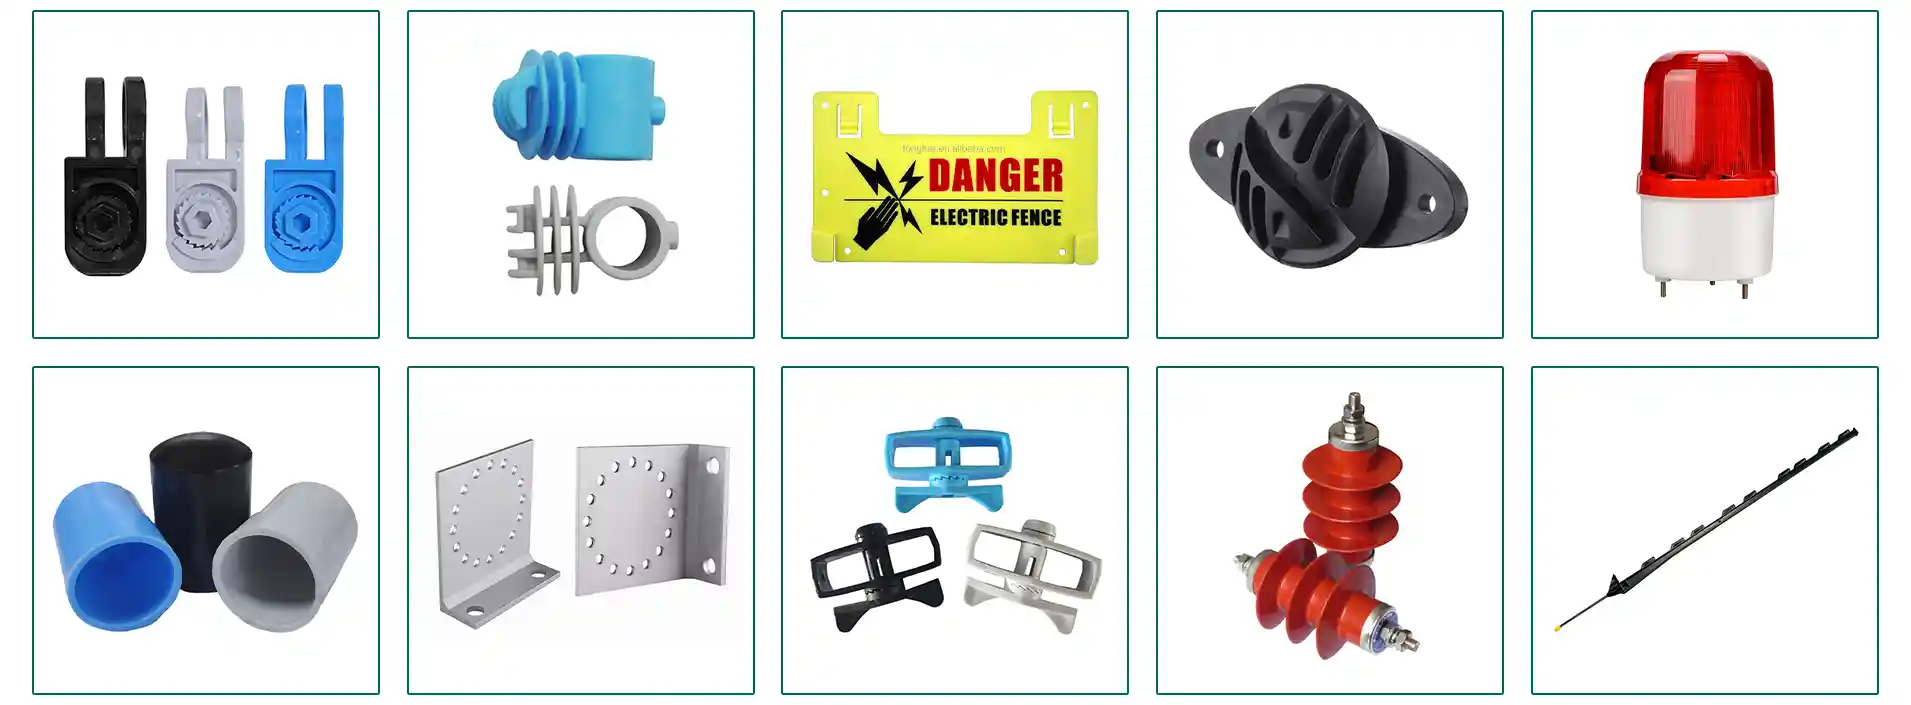
Special Accessories
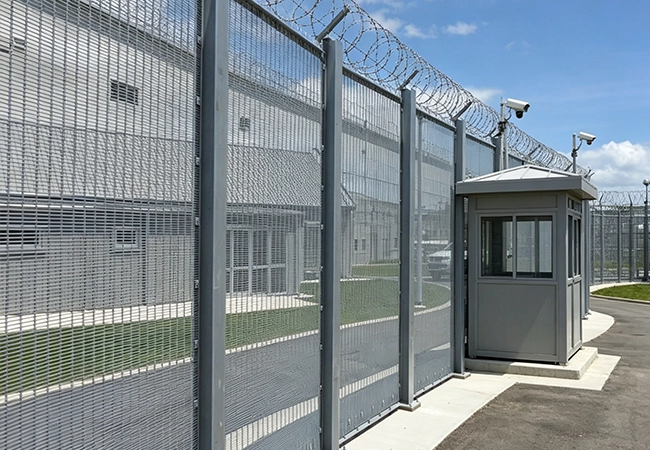
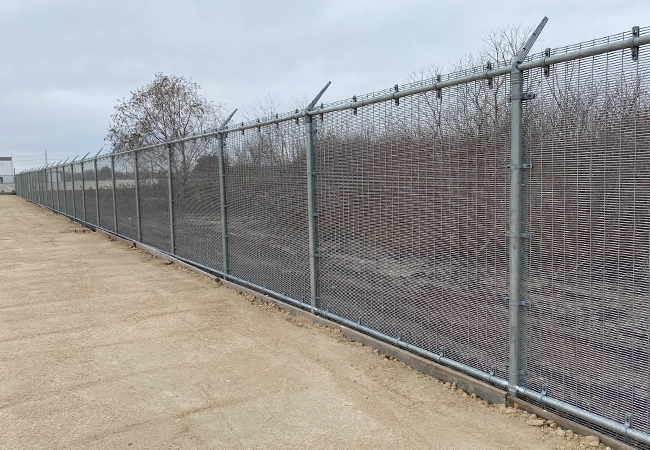
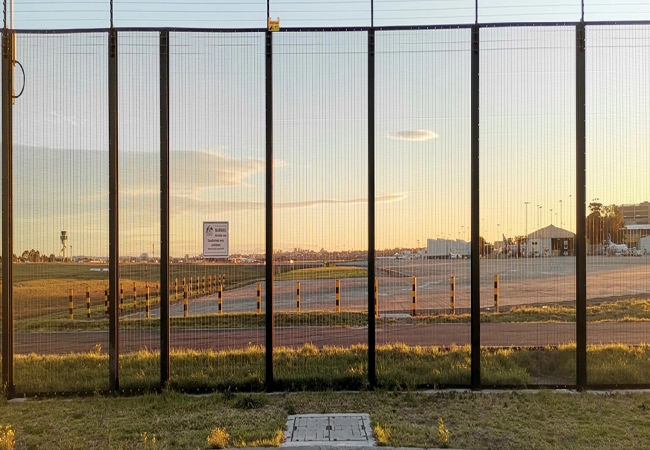
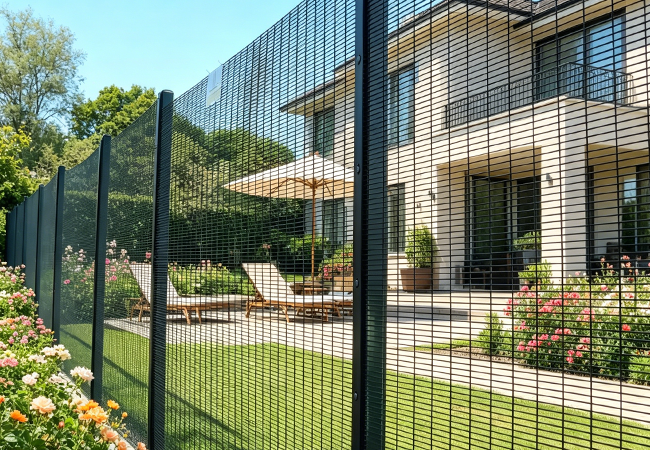
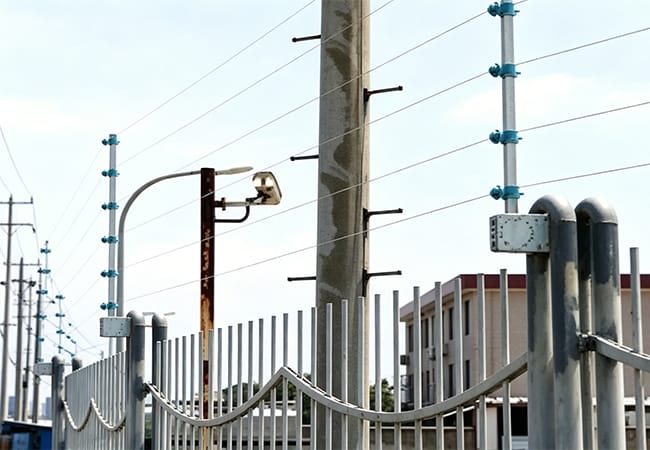
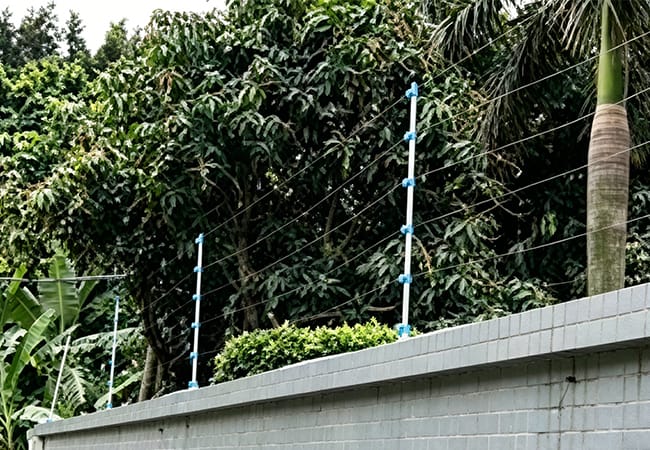
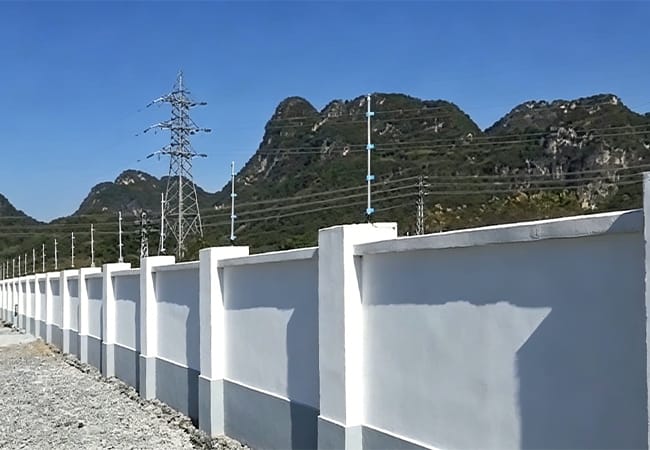
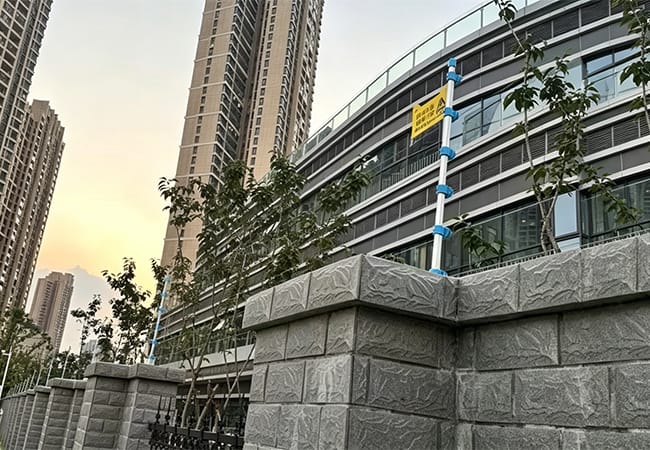
Applications of Security Electric Fence

Detailed Installation Process for Security Electric Fence
The installation of security electric fence requires strict adherence to operational standards and detailed steps to ensure the overall stability, safety and alarm performance of the fence. Below is the expanded and detailed installation process, with in-depth explanations of each step, key points and precautions:
Step 1: Site Survey & System Design
Measure perimeter length. Determine number of lines (4–12) and post spacing based on threat level.
Step 2: Post & Insulator Mounting
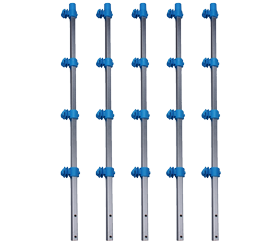
Install posts (2–4m spacing). Attach insulation columns to posts or directly to existing wall.
Step 3: Alloy Wire Stringing
Thread alloy wires through insulator holes. Start from bottom, work upward. Maintain uniform line spacing (80–150mm).
Step 4: Wire Tensioning & Connection
Apply moderate tension using tensioners. Connect each wire to pulse host output terminals in correct phase sequence.
Step 5: Host Installation & Power Connection
Mount pulse host on wall or pole. Connect to AC 220V / DC 12V / solar panel. Connect grounding rod.
Step 6: System Testing & Alarm Check
Turn on host. Test each wire with insulated tester – verify pulse and alarm LED. Trigger short circuit or cut – alarm must sound within 1 second.
Why Choose BDFENCE for Security Electric Fence?
Choose BDFENCE – your intelligent perimeter protection partner.
1. High‑Strength Anti‑Corrosion Materials
We use aluminum‑magnesium alloy wires and UV‑stabilized insulators. Withstands rain, snow, salt fog and extreme sun – no rust, no cracking.
2. Flexible Configurations for Any Site
Available in 4–12 lines, 1.2–2.5m height, 2–4m post spacing. Multiple post materials (Stainless 304, Aluminum, Galvanized). AC/DC/solar host – tailored for residential, commercial, military.
3. Smart Detection & Real‑Time Alarm
Pulse high voltage (5000–10000V) detects intrusion instantly. Alarm output connects to lights, sirens, or security platform. Non‑lethal – safe for people and animals.
4. Expert Pre‑Sales & Fast Support
Free CAD layout, line spacing calculation, and solar system design. After‑sales: 24/7 technical support, spare parts stock, and remote troubleshooting.
5. Full Industrial Chain – Factory Direct
From alloy wire drawing to insulator molding, host assembly to packaging – all under one roof. Fast lead time (10 days for 1km fence), strict QC, competitive price.
6. Global Electric Fence Experience
Supplied luxury villas, military bases, substations, and airports across UK, USA, Australia, France, South Africa, and more. Full compliance documents ready.
📌 In short: High‑strength alloy + intelligent pulse detection + full customisation + fast installation = BDFENCE, your trusted electric fence partner.