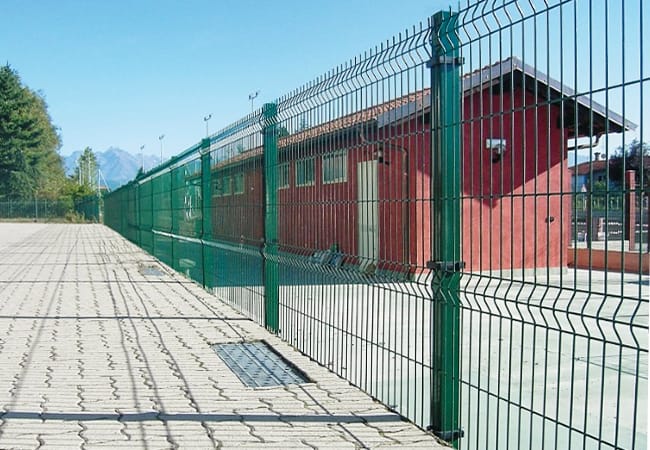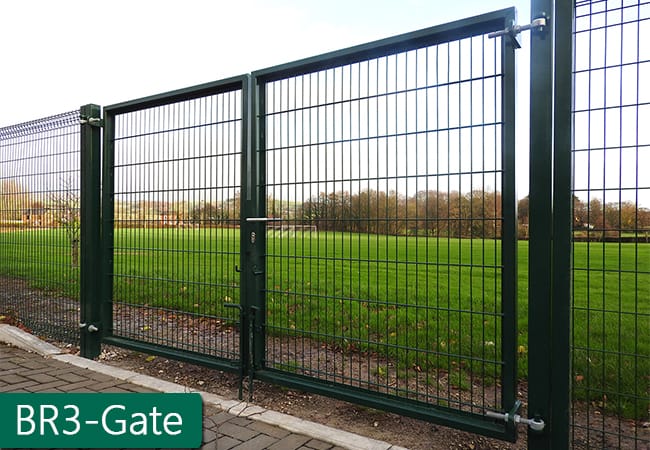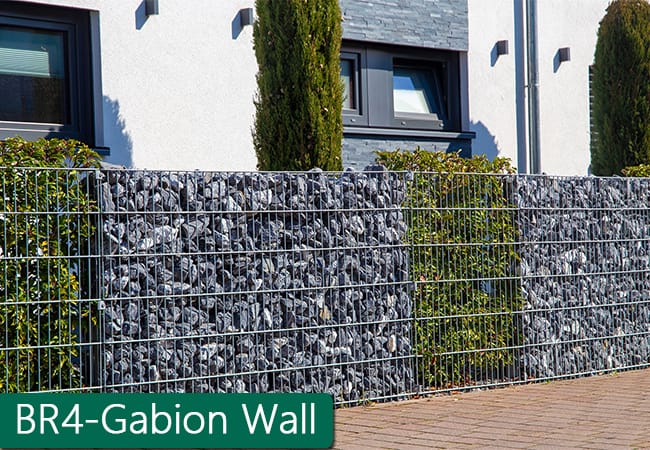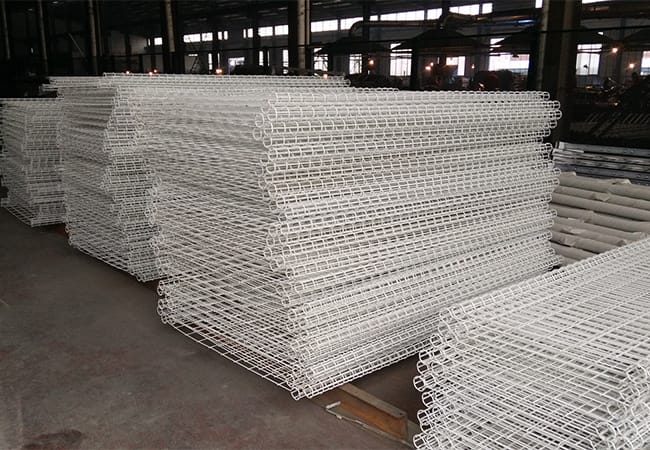


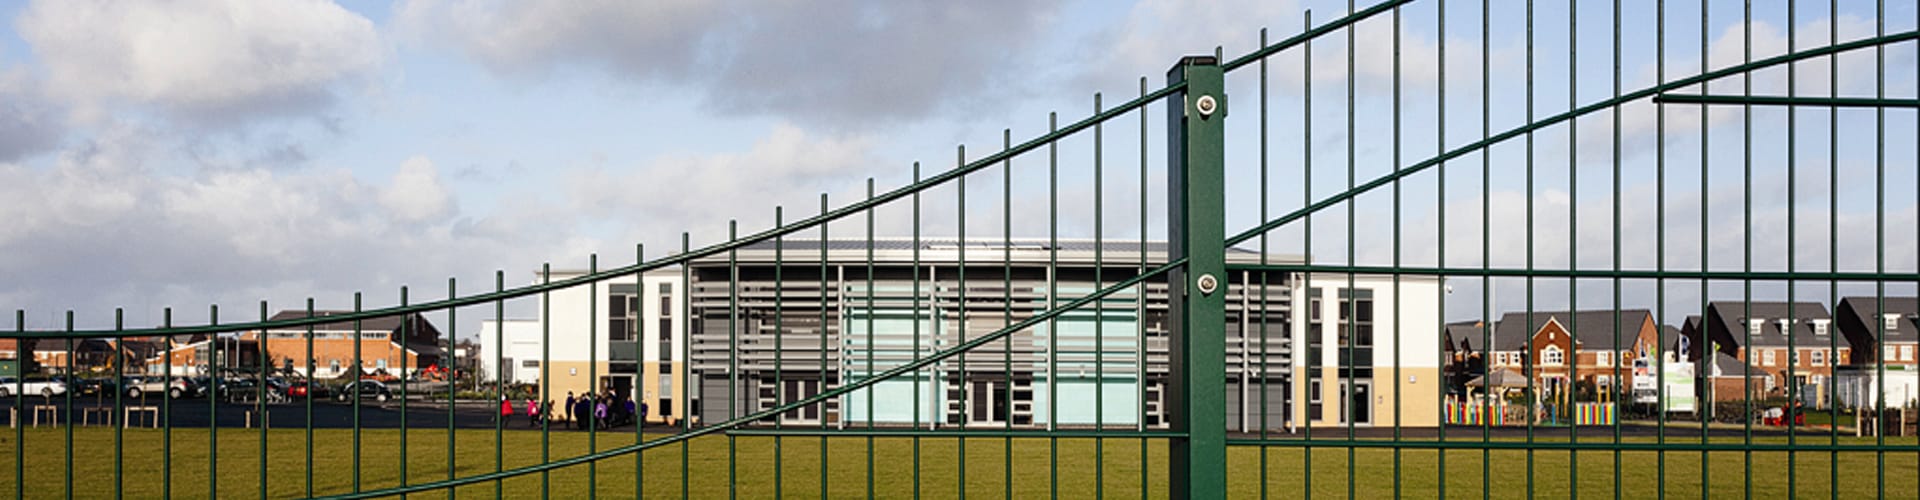
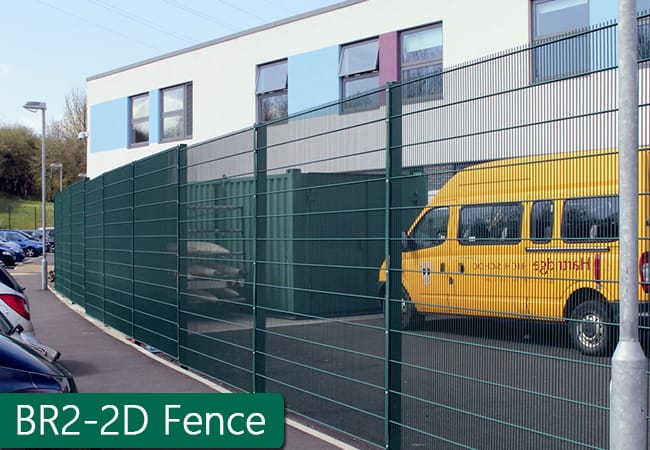
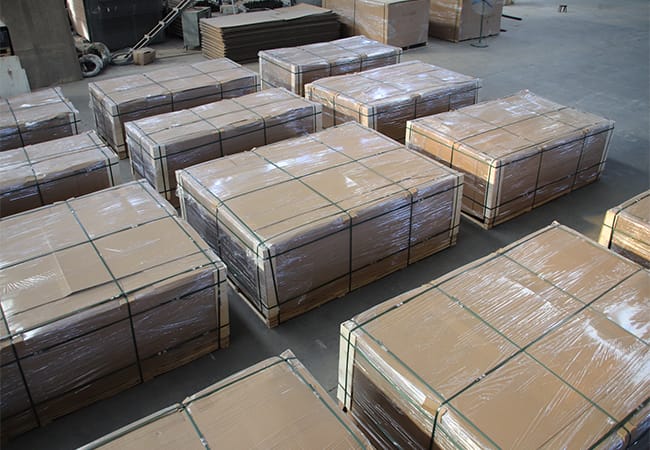
2D Fence Advantages
1. High Strength & Clear Visibility
Sturdy low-carbon steel welded mesh – strong yet transparent, maintains sightlines.
2. Economical & Practical
Cost‑effective solution for basic boundary isolation – no unnecessary frills.
3. Corrosion & Weather Resistance
Hot-dip galvanized or powder coated finish – long outdoor service life.
4. Quick & Simple Installation
Lightweight panels, standard posts – no complex tools or heavy machinery needed.
Product Details– BDFENCE
2D Fence Specifications
| Parameter | Specifications |
|---|---|
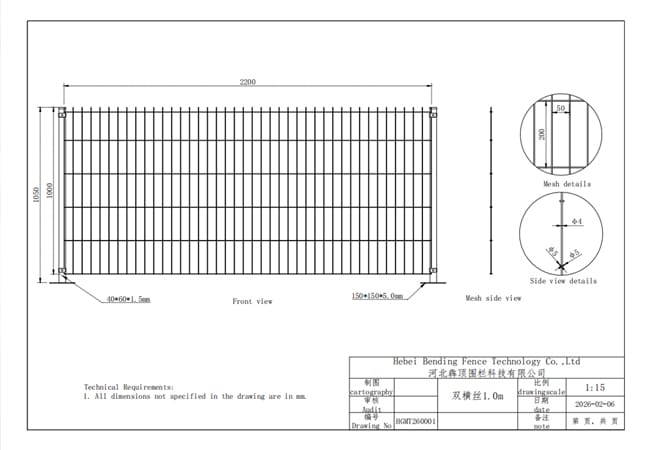
| Wire Dia. | 5/4/5mm、6/5/6 mm、8/6/8mm |
| Mesh Size | 50 x 200 mm / 75 x 150 mm / 100 x 200 mm |
| Width | 2000 mm / 2200 mm / 2500mm / 3000mm |
| Height | 1500mm / 1800mm / 2000 mm / 2200 mm / 2400 mm / 2800 mm |
| Fitting Qty. | 5 / 6 /7 / 8 / 9 / 10 |
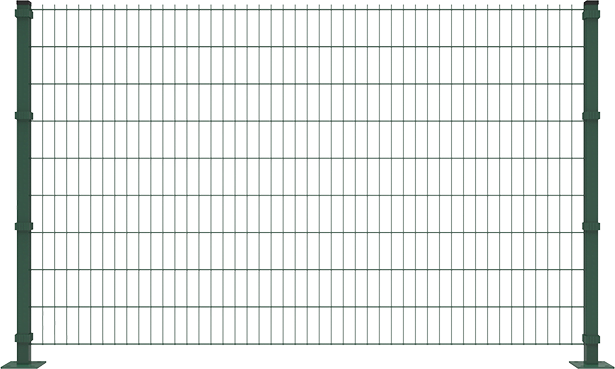
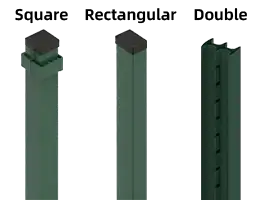
Post Options
| Post Type | Dimensions | Thickness Options |
|---|---|---|
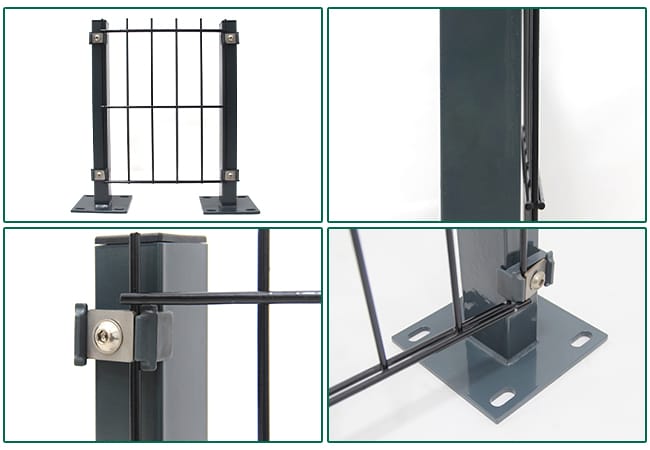
| Square Post | 40×40 mm, 50×50 mm, 60×60 mm | 1.0 / 1.1 / 1.2 / 1.5 / 1.8 / 2.0 / 2.5 mm |
| Rectangular Post | 40×60 mm | 1.0 / 1.1 / 1.2 / 1.5 / 1.8 / 2.0 / 2.5 mm |
| Double Post | 55×130 mm | 1.5 mm |
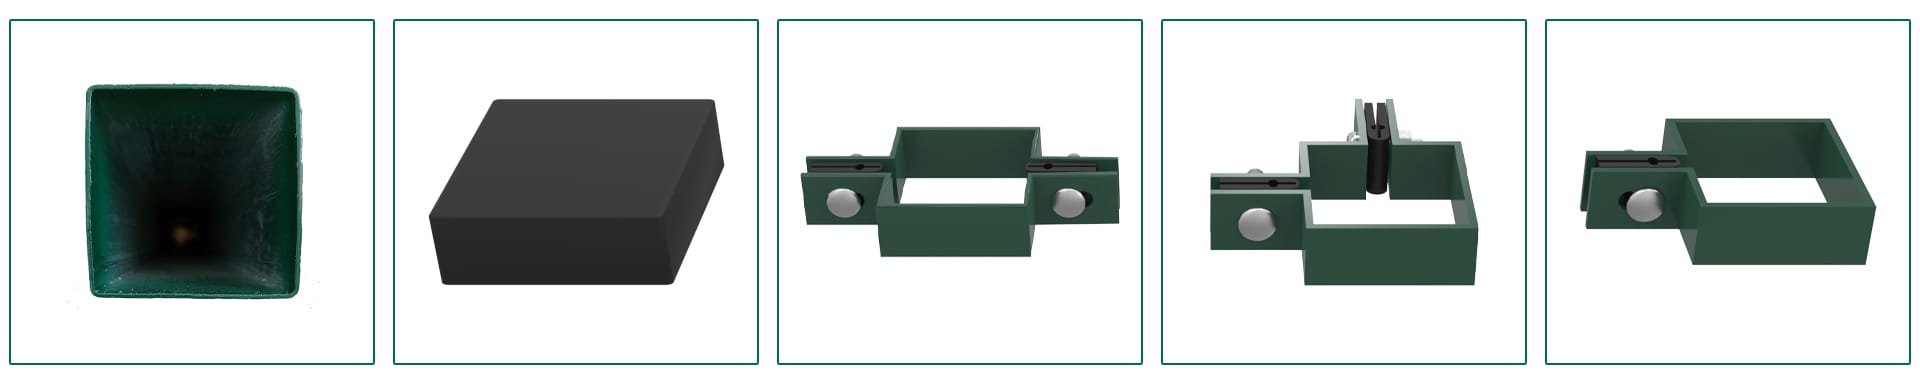
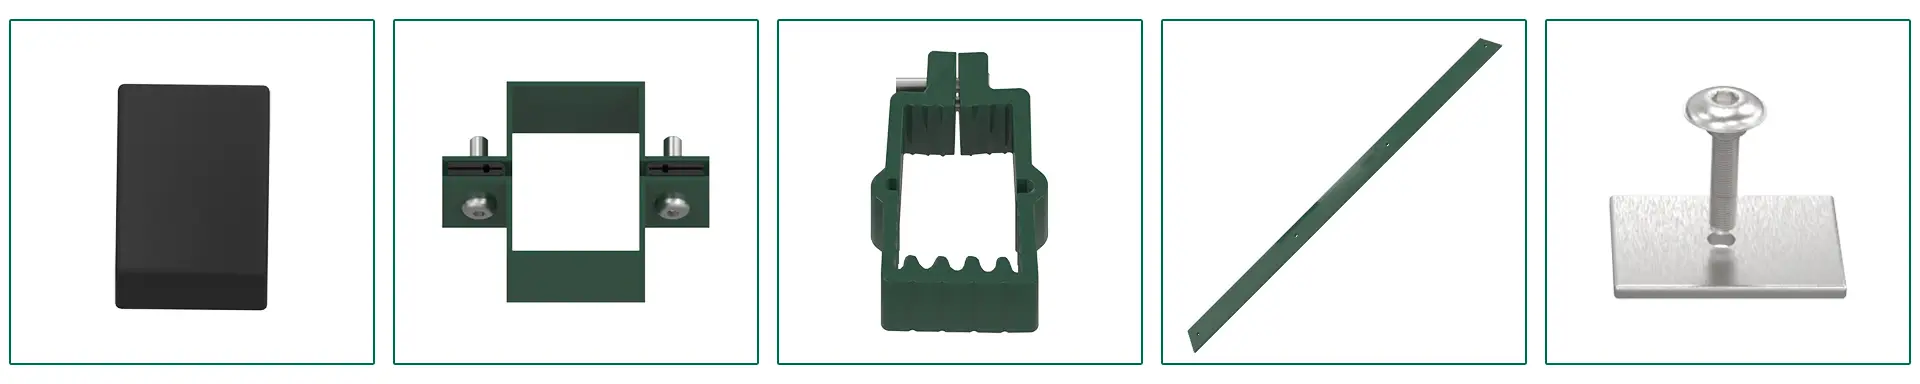
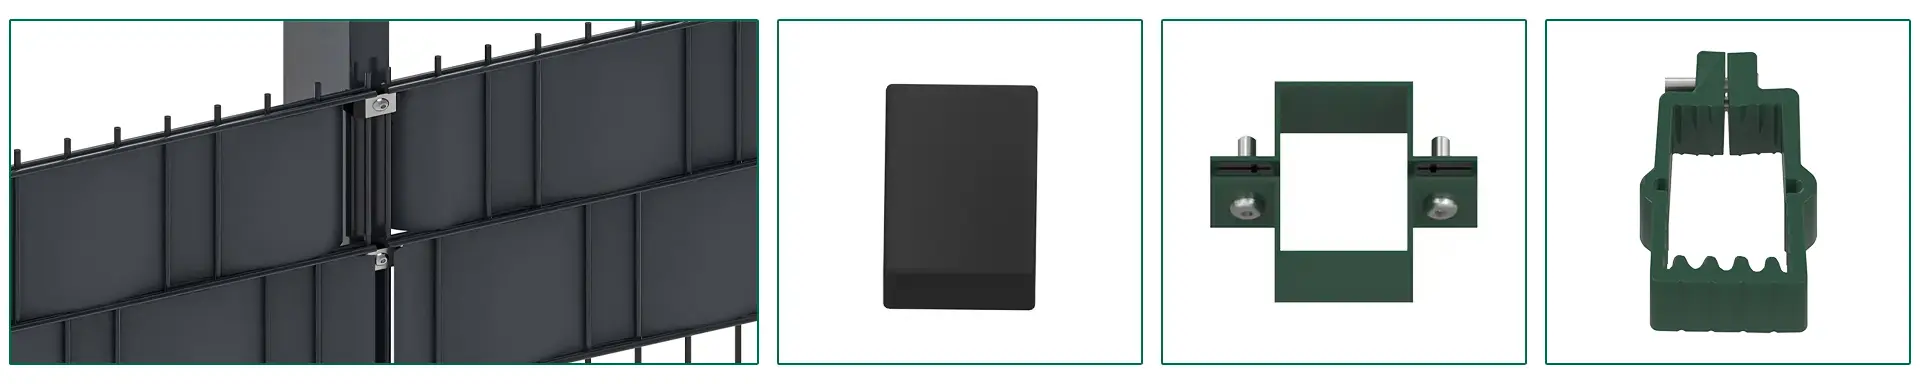
Special Accessories
- Square Post
- Rectangle Post
- Privacy 2D Fence
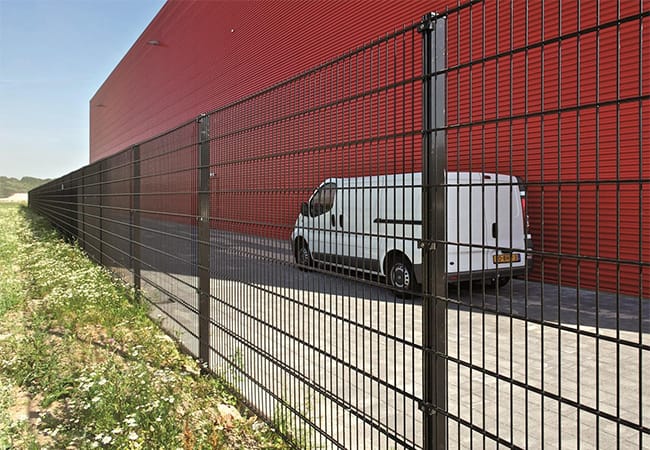
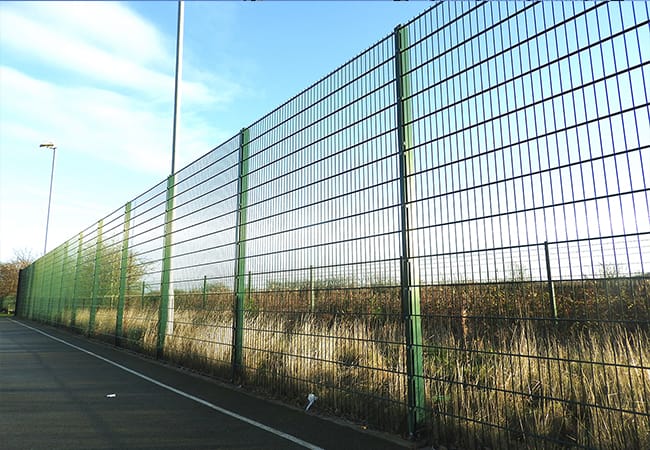
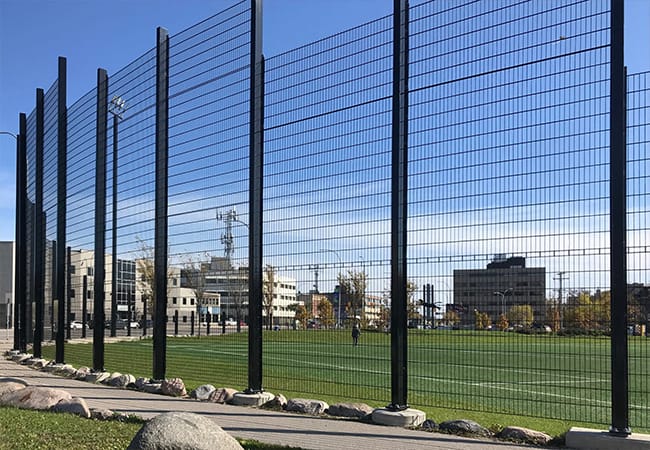
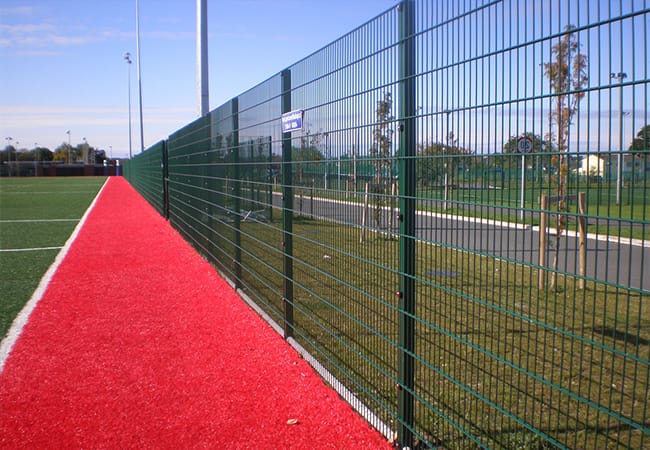
Applications of 2D fence
Detailed Installation Process for 2D Fence
The installation of 2D fence (double wire mesh fence) requires strict adherence to standardized construction specifications and standardized operating procedures, so as to fully guarantee the overall structural stability, long-term service safety, neat installation effect and uniform aesthetic appearance of the 2D fence after completion. Below is the fully expanded and refined detailed installation process for 2D fence projects, with in-depth and comprehensive elaboration on the specific construction steps, core operation key points, professional technical requirements and mandatory safety & construction precautions for every installation link:
1. Measurement & Marking
First, thoroughly clear the construction area of all obstacles, including weeds, gravel, construction debris, and any other items that may interfere with the installation process. After clearing, determine the starting point, ending point, corner positions, and gate locations of the fence according to the design drawings. Drive sturdy stakes at these key positions to serve as reference points. Next, pull a high-tension nylon string or mark a chalk line between the stakes to clearly define the installation route, ensuring the line is straight and tight without sagging. Then, confirm the post spacing based on the actual width of the 2D fence panels (usually 2000mm per panel for standard models), and use a measuring tape or total station to accurately mark each post position along the string. The spacing between adjacent posts must be consistent to ensure a neat and uniform overall layout. For corner positions, use the 3-4-5 Pythagorean theorem to calibrate a 90-degree right angle, avoiding skewing. Finally, double-check all marked positions against the design drawings to ensure no errors before proceeding to the next step.
2. Post Hole Drilling
Before drilling, confirm the appropriate depth and diameter of the post holes based on the size of the fence posts and the soil conditions of the construction site. For standard 60×60mm square posts or φ60mm round posts, the recommended hole size is 300mm (width) × 600mm (depth) for soft soil or clay; for harder soil or rocky ground, the depth can be increased to 700-800mm to ensure stable support. Use an electric hammer or drilling machine equipped with a matching drill bit to drill holes at the marked positions. During drilling, keep the drill bit vertical to avoid tilting the hole. After drilling each hole, use a shovel or brush to carefully remove all debris, soil, and loose particles from the inside of the hole, as these can affect the firmness of the post fixation. For areas with poor drainage, add a 50mm layer of gravel at the bottom of each hole to improve drainage and prevent post base corrosion due to water accumulation.
3. Post Placement & Fixing
Lift the fence post and place it vertically into the drilled hole, ensuring the post is centered in the hole. Use a laser level or plumb line to check the verticality of the post— the deviation should not exceed 2mm per meter to avoid tilting. At the same time, adjust the height of the post according to the design requirements, ensuring the exposed height above the ground matches the height of the 2D fence panel (usually 1000-1500mm for standard panels). Once the post is properly aligned and leveled, pour C25 concrete into the hole in batches, and use a vibrator to compact the concrete to eliminate air bubbles and ensure full contact between the concrete and the post. After pouring, smooth the surface of the concrete slightly higher than the ground to prevent water from accumulating around the post base. Allow the concrete to fully cure for at least 72 hours (3 days) under normal temperature conditions; in cold or rainy weather, extend the curing time to 5-7 days and cover the concrete with a thermal insulation film to ensure its strength.
4. Bracket Installation
Wait until the concrete for the posts is completely cured and has sufficient strength before installing the mounting brackets. First, mark the installation height of the brackets on each post— the upper bracket should be 50mm below the top of the post, and the lower bracket should be 50mm above the bottom of the fence panel, ensuring the brackets are aligned horizontally across all posts. Use self-tapping screws or M8 bolts to fix the galvanized mounting brackets to the posts, and tighten them with a torque wrench to ensure the brackets are firmly attached without looseness. The torque value should be maintained at 25-30N·m to avoid over-tightening and damaging the brackets or posts. Check each bracket one by one to ensure their positions are consistent, the angles are correct, and they face the same direction, providing a stable and accurate base for the fence panel installation.
5. Fence Panel Mounting
This step requires two people to cooperate to avoid damaging the 2D fence panel. Lift the panel carefully, holding it at both ends to prevent single-point stress that could bend the wires or damage the welding points. Align the edges of the panel with the卡槽 of the mounting brackets on the posts, ensuring the panel is level and vertical. First, fix the two corners of the panel (top and bottom) to the brackets using dedicated fasteners (such as U-shaped buckles or anti-theft bolts), then secure the middle positions. The number of fasteners should not be less than 4 per meter to ensure the panel is firmly connected. For adjacent panels, align the edges closely with a gap of no more than 5mm, avoiding misalignment or warping. If there is a gap between panels, add an auxiliary buckle at the joint to enhance stability. During installation, use a level to fine-tune the panel, ensuring it is flat without waves or tilting, and do not forcefully pull or knock the panel to prevent welding cracks or coating damage.
6. Fastener Tightening
After all fence panels are installed, use a torque wrench to re-tighten all screws, bolts, and fasteners evenly. Check each joint one by one to ensure there are no loose connections— loose fasteners can affect the overall structural stability of the fence and reduce its service life. For anti-theft bolts, ensure they are fully tightened and cannot be easily removed. During the tightening process, pay attention to the torque value (consistent with the bracket installation torque of 25-30N·m) to avoid over-tightening, which may strip the threads or damage the fasteners. After tightening, gently shake the fence panels by hand to check for any looseness or shaking; if any issues are found, re-tighten the corresponding fasteners immediately.
7. Accessory Installation & Finishing
First, install post caps on the top of each fence post— post caps can prevent water, dust, and debris from entering the post, avoiding internal corrosion and extending the post’s service life. Fix the post caps tightly with screws or snap them into place according to the post type. If there are end covers or other accessories (such as gate hinges, locks), install them as required and adjust to ensure they work smoothly. Next, clean the entire construction site, removing concrete residues, drilling dust, packaging materials, and other construction waste. Wipe the surface of the fence panels with a clean cloth to remove any stains or fingerprints, ensuring the fence has a neat and beautiful appearance. Finally, conduct a comprehensive inspection of the entire fence system, checking the overall stability, panel alignment, fastener tightness, and accessory installation to ensure all requirements are met and the installation is complete.
Precautions
This fence is made of high-quality steel, with anti-corrosion treatment on the surface. It has the advantages of high strength, convenient installation and easy maintenance, and is suitable for various scenarios such as factories, highways and public areas. During the installation process, it is necessary to strictly follow the standard operating procedures: first clean up the construction site, determine the post positions and fix the posts, then install the fence panels according to the requirements, ensure the overall level and stability, and conduct comprehensive inspection after installation to ensure that it meets the safety and quality standards.
During installation, ensure all posts are set vertically and aligned accurately, and use proper concrete to fix them firmly with sufficient curing time. Handle fence panels gently to avoid bending, welding damage or coating scratches; do not knock or pull panels forcefully. Use standard fasteners and tighten them evenly to maintain structural stability, and follow the marked layout strictly to keep consistent spacing and level.
First, install post caps on the top of each fence post— post caps can prevent water, dust, and debris from entering the post, avoiding internal corrosion and extending the post’s service life. Fix the post caps tightly with screws or snap them into place according to the post type. If there are end covers or other accessories (such as gate hinges, locks), install them as required and adjust them to ensure they work smoothly. Next, clean the entire construction site, removing concrete residues, drilling dust, packaging materials, and other construction waste. Wipe the surface of the fence panels with a clean cloth to remove any stains or fingerprints, ensuring the fence has a neat and beautiful appearance. Finally, conduct a comprehensive inspection of the entire fence system, checking the overall stability, panel alignment, fastener tightness, and accessory installation to ensure all requirements are met and the installation is complete.
Why Choose BDFENCE for 2D Fence?
1. Reliable Low‑Carbon Steel & Coating
We use Q235 steel with hot-dip galvanized or powder coated finish. Rust‑resistant, weather‑proof – long service life at low cost.
2. Standard Sizes & Full Customization
Wide range of heights (1.5–2.8m), widths (2.0–3.0m), wire diameters (4/5/6mm vertical). Multiple post types (square, rectangular, double) and thicknesses (1.0–2.5mm). Tailored for gardens, farms, factories.
3. Simple, Fast Installation
Flat panels are lightweight. Clip system – no welding, no heavy equipment. Save time and labor.
4. Factory Direct Pricing
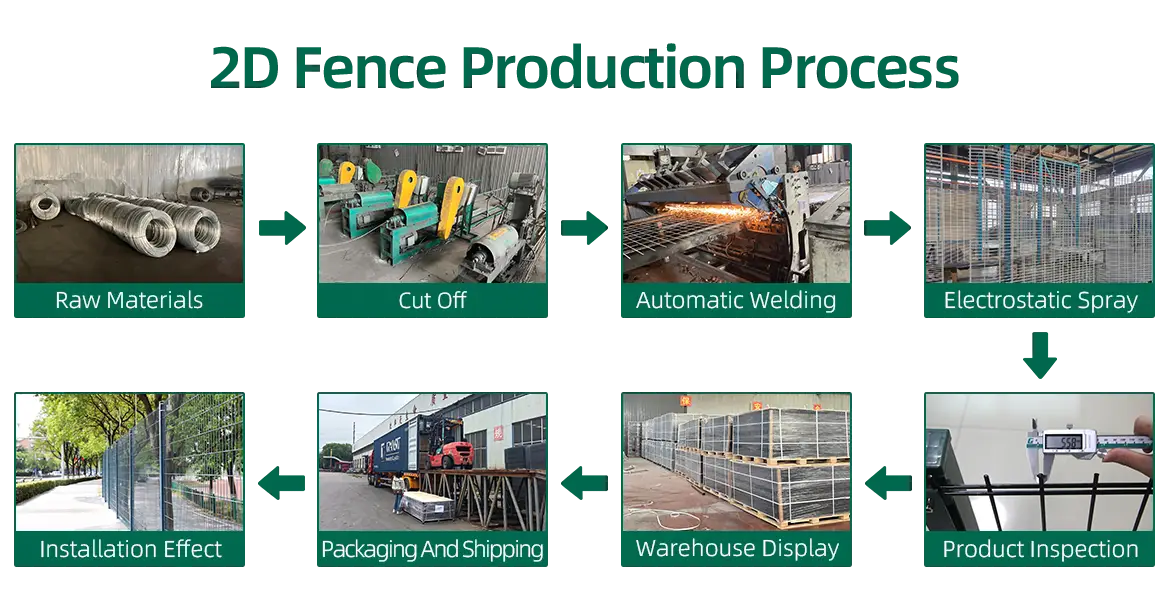
Full in‑house production: wire drawing → welding → coating → post forming. Competitive pricing, fast lead time (10‑15 days).
5. Expert Support & Global Delivery
Free CAD layout, post selection advice. After‑sales 24/7 support. Shipped to UK, Australia, USA, France, South Africa and more.
📌 In short: Flat & sturdy + anti‑corrosion + budget‑friendly + easy install = BDFENCE, your go‑to 2D fence supplier.