

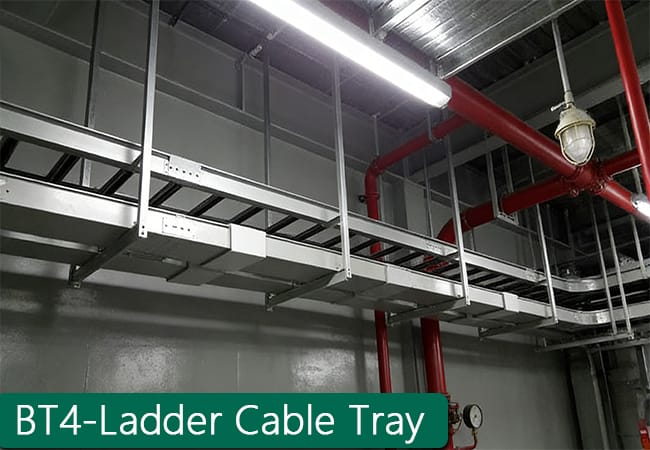

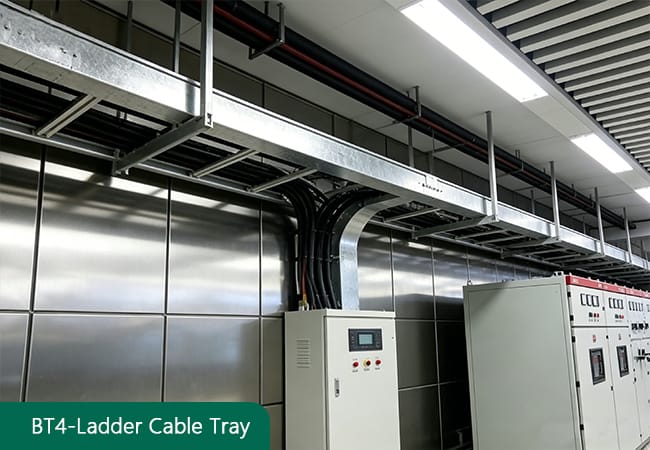
Ladder Cable Tray
Ladder Type Cable Tray is a high-strength open-type cable management system, composed of parallel side rails and evenly spaced rungs, presenting a ladder-like structure. Made of high-quality mild steel, aluminum alloy or FRP, it features firm welding joints and reinforced side beams, enhancing load-bearing capacity and preventing deformation even for long-span and heavy-duty cable laying.
It is available with hot-dip galvanized, electrostatic powder coated or anodized finishes, providing excellent corrosion resistance, rust resistance and weather resistance, suitable for harsh outdoor and industrial environments such as chemical plants and coastal areas. Modular design and standard accessories enable welding-free, quick installation, reducing labor costs and construction time significantly.
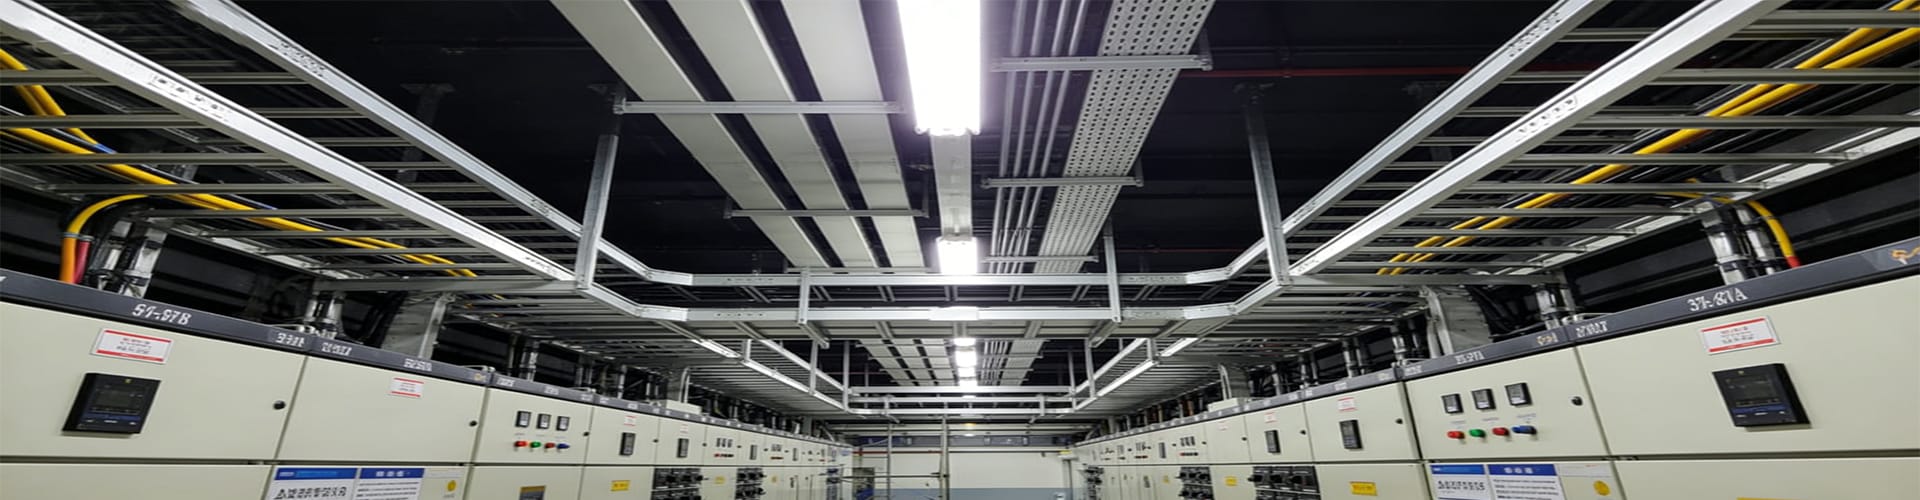
With outstanding heat dissipation, strong load-bearing capacity, easy maintenance and cost-effectiveness, it is widely used in power systems, industrial plants, data centers, subway tunnels, bridges, railways and construction sites for supporting and managing high-voltage power cables, control cables and communication cables.
Product Details– BDFENCE
What is a Ladder Cable Tray?
Ladder Cable Tray, also widely known as ladder type cable support or ladder wire duct, is a high-load, ventilated, convenient-to-maintain cable laying system characterized by its distinctive ladder-shaped frame structure and independent cross arm support design, offering an optimal blend of large load capacity, heat dissipation performance and long service durability.
Ladder Cable Tray Specifications
Height (mm):75/100/150/200
Width (mm):150/200/250/300/400/500/600/800
Length (m):2 (customizable)
Color:Industrial gray (customizable)
Material:Aluminum alloy, galvanized steel,stainless Steel
Surface Treatment:Powder coated, electrogalvanized, hot-dip galvanized
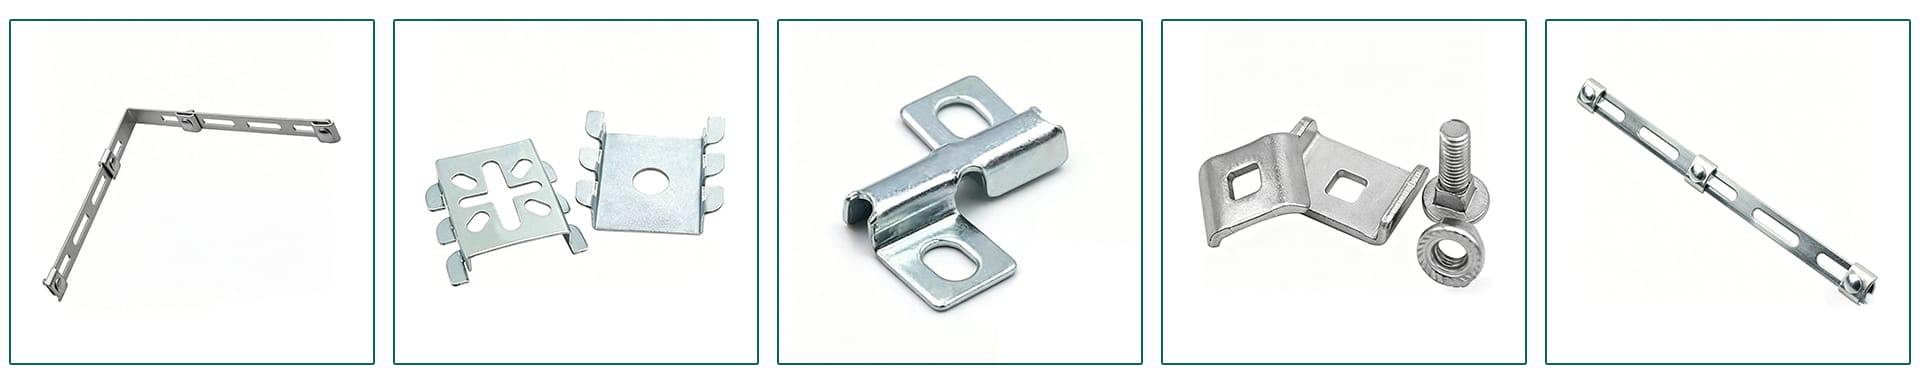
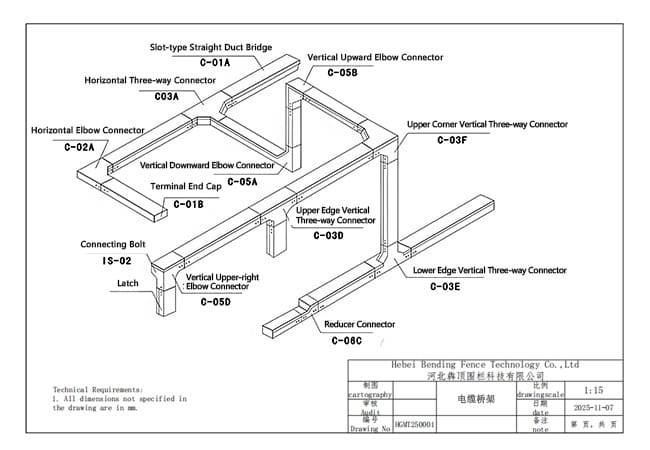
Special Accessories
- Ladder Cable Tray
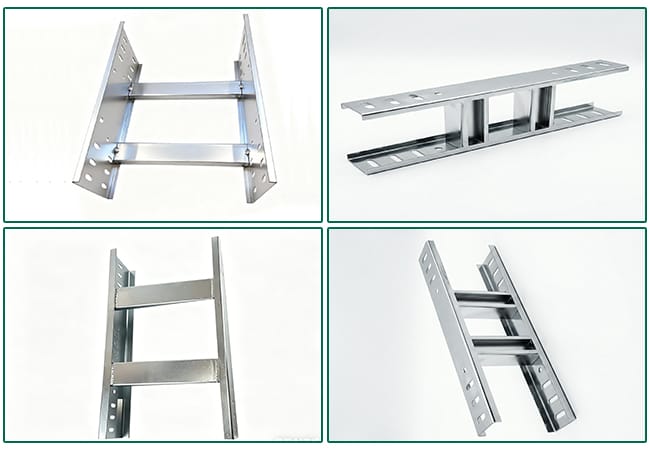
Various structures available for Ladder Cable Tray
Introduction to Product Categories & Detailed Item Overview
Full-Service Industrial Chain
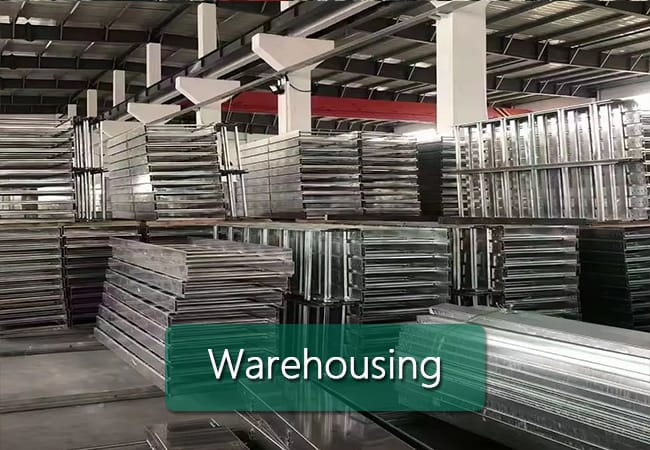
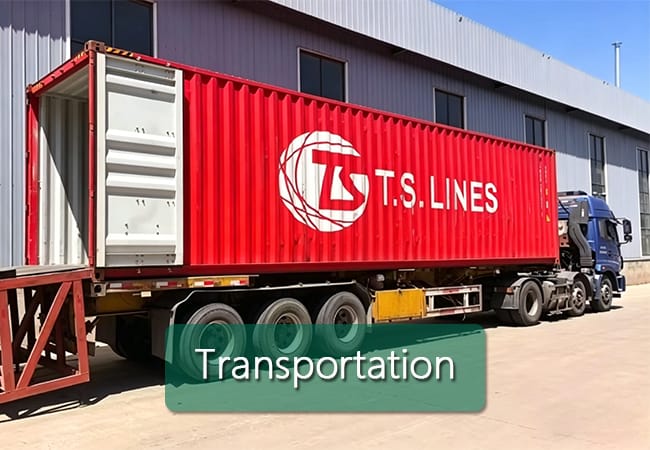
We provide a complete industrial chain covering production, coating, on-site installation and standardized warehousing services.
Applications of Ladder Cable Tray
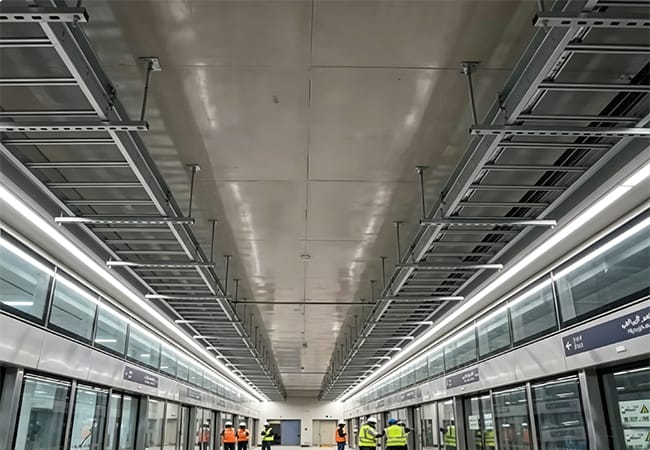
Sleek, reliable cable trays for clean and modern metro station infrastructure.
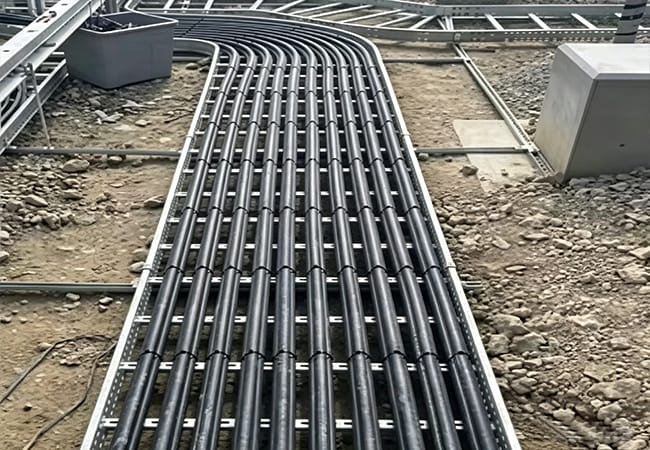
Heavy-duty, weather-resistant cable trays for outdoor and railway applications.
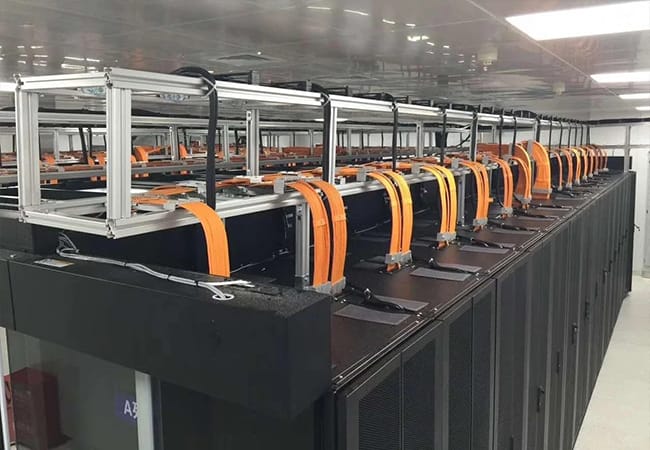
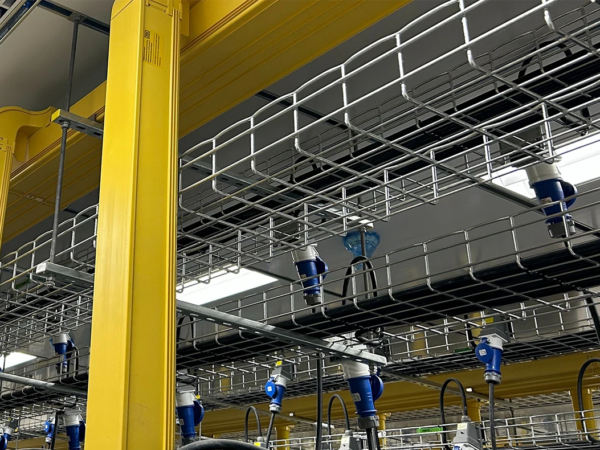
High-density, organized cable management for data center server rooms.
Heat-resistant, rugged trays for harsh high-temperature industrial environments.
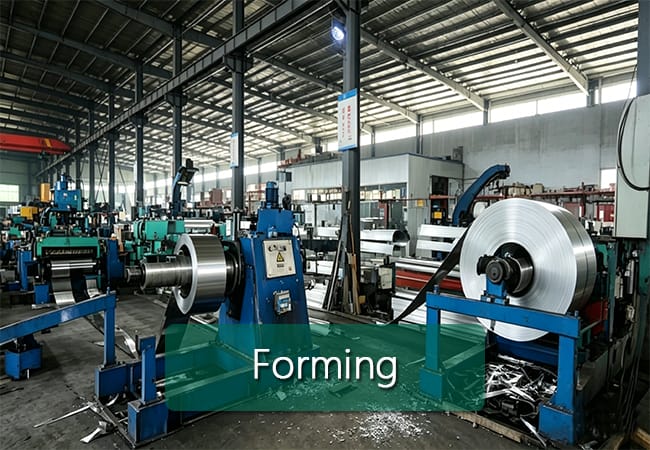
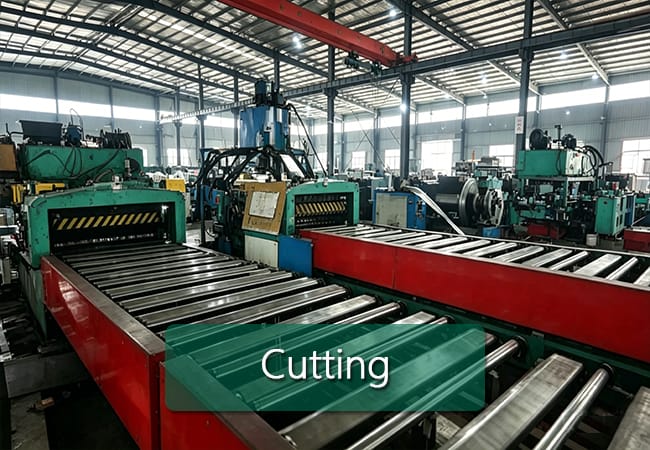
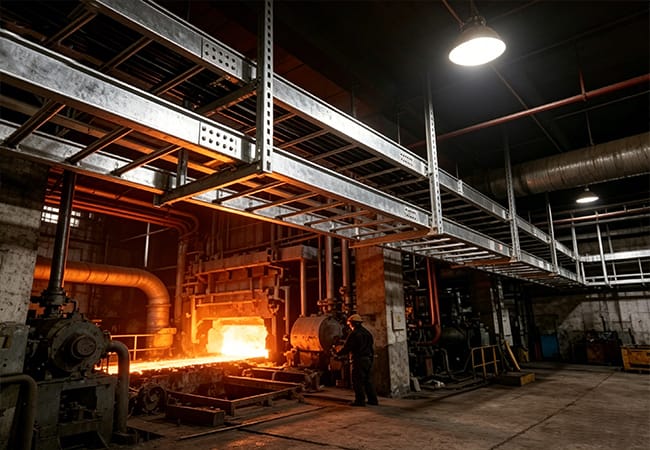
Production Process
30+ years metal fence design experience, 30+ technical team; modular & scene-specific customization

High-quality raw materials are selected and inspected for consistent quality.
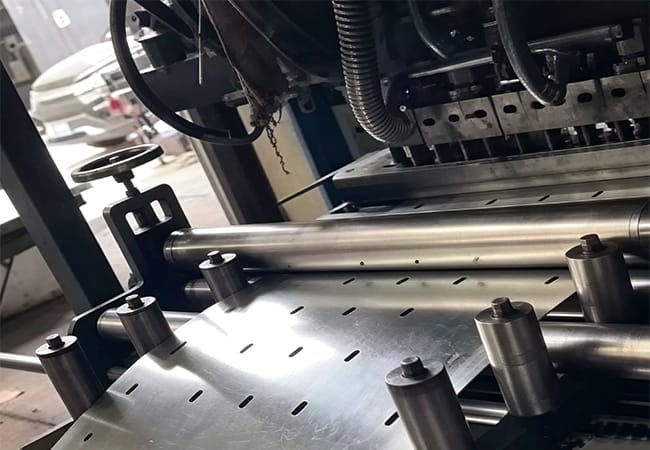
Precision punching for accurate mounting holes and custom profiles..
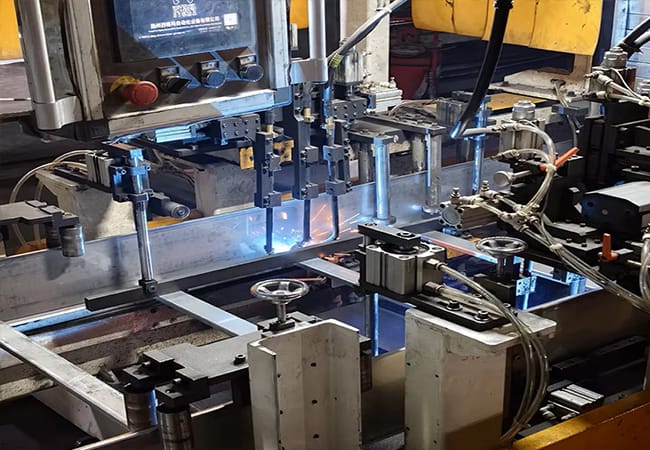
Strong, clean welding ensures structural integrity and long-term durability.

Strict quality inspection at each process ensures fence quality meets standards, with no defects and stable performance.

Standardized packaging protects products well; safe and efficient shipping ensures on-time delivery to global customers.
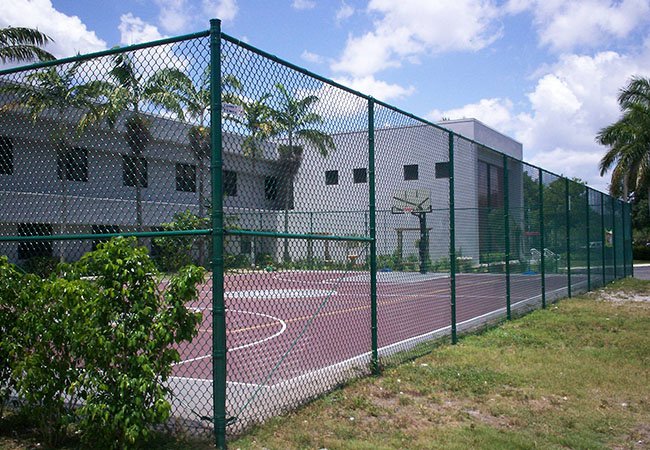
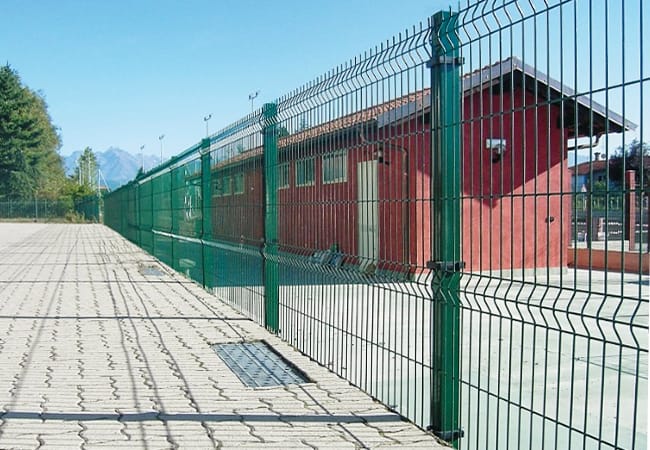
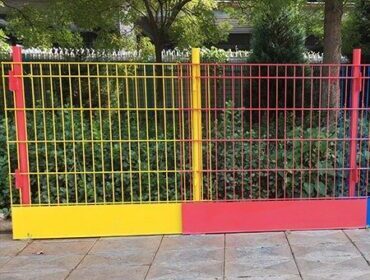
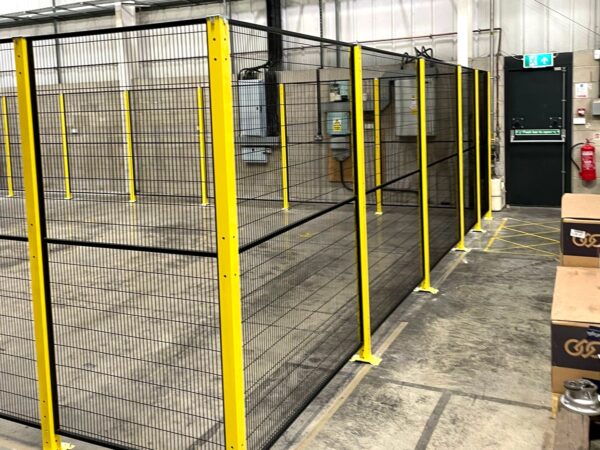
Related Product

Detailed Installation Process for Ladder Cable Tray
The installation of ladder cable tray requires strict adherence to operational standards and detailed steps to ensure the overall stability, load capacity and safe operation of the cable tray. Below is the expanded and detailed installation process, with in-depth explanations of each step, key points and precautions:
1. Site Preparation & Marking
Before starting the installation, thorough site preparation is the foundation to ensure the smooth progress of subsequent operations.First, clear the entire construction area, remove all obstacles such as dust, debris, construction waste and sundries that may affect the installation, and clean the working surface to avoid interference with positioning, support erection and bracket fixing.Then, use a level to check the flatness of the installation wall and beam surface; if there are local uneven areas, level them with cement mortar to ensure that the ladder cable tray can be installed horizontally and stably.Next, according to the design drawings and actual installation requirements, use professional measuring tools (such as tape measure, level ruler and ink line) to mark the installation positions of each supporting bracket and ladder cable tray main body.The spacing between supporting brackets should be strictly in line with the design specifications (usually 2.0-3.0 meters, which can be adjusted according to the tray specification and cable load-bearing requirements), and the marking lines should be straight and clear to ensure that the overall layout of the cable tray is neat and consistent.At the same time, mark the fixing position and reserved height on the wall according to the erection height of cable tray (generally, the overhead height is reasonably reserved according to pipeline layout and maintenance space, ensuring sufficient stability to bear cable weight and long-term operation load).
2. Drilling
3. Cable Tray Body Positioning
After the support brackets are completely fixed and stabilized, the positioning installation of the ladder cable tray body can be carried out.First, check the pre-reserved mounting holes on the support brackets and the ladder cable tray to ensure that the hole positions are accurate, the hole diameter matches the fasteners, and there is no deformation or blockage.Then, use manual hoisting tools to place the ladder cable tray body (pay attention to protecting the surface of the tray to avoid scratches, dents and structural damage), and align the reserved holes on the tray with the mounting holes on the adjacent supporting brackets.During the alignment process, adjust the height and horizontal position of the cable tray: the bottom of the tray should maintain a reasonable overhead height from the ground to facilitate later maintenance and avoid moisture corrosion, and the overall surface of the tray should be flat and smooth in line with design requirements, without obvious distortion or deformation.At the same time, ensure that the gap between adjacent cable tray sections is uniform (usually 2-5mm) to avoid uneven stress caused by thermal expansion and contraction of the profile.After adjusting to the correct position, use temporary fixing clamps to fix the cable tray and supporting brackets temporarily to prevent the tray from shifting during the fastening process.
4. Fastening with Special Accessories
The fastening of special accessories directly affects the connection firmness between the cable tray body and the support brackets, and is an important guarantee for the stable operation and service life of the ladder cable tray.First, select matching special accessories according to the specification of the cable tray, including bolts, nuts, gaskets, connecting brackets and fixing clamps (preferably anti-rust and anti-loosening accessories to improve corrosion resistance and structural stability).Then, pass the bolts through the pre-drilled holes of the cable tray and the support brackets, and install gaskets and nuts in sequence; when tightening, use a torque wrench to control the torque (usually 30-50N・m) to ensure that the bolts are tightened evenly, without over-tightening (to avoid damaging the tray body or brackets) or under-tightening (to avoid looseness).For the lap joint part of adjacent cable tray sections, special connecting brackets should be used to fix it, ensuring that the splicing part is closely attached and the overall stress is uniform.After fastening all the accessories, check each connection point again to confirm that there is no looseness, and the accessories are installed in place, without missing or misplaced parts.
5. Level & Integrity Check
After the installation of the ladder cable tray and accessories is completed, a comprehensive level and integrity check is required to ensure that the installation quality meets the standards.First, use a level and measuring ruler to check the horizontalness of the cable tray body and the verticality of the supporting brackets again: the horizontalness error of the tray should not exceed 2mm per meter, and the verticality error of the brackets should not exceed 3mm in total.Then, check the overall alignment of the cable tray system: the entire cable tray route should be straight, the splicing joint of each tray section should be consistent, and there should be no obvious skew or unevenness.At the same time, check the connection firmness of each part: gently shake the cable tray and supporting brackets to ensure that there is no obvious shaking, and the bolts and accessories are not loose.If any problems are found (such as skew, looseness, uneven gap), adjust them in time: if the brackets are skewed, adjust the fixing position and re-tighten expansion bolts; if the tray surface is uneven, adjust the position of the fasteners or add gaskets to ensure the flatness.In addition, check the lap joint part of adjacent cable trays to ensure that there is no deformation, and the splicing surface is smooth and in line with the design requirements.
6. Cleaning & Acceptance
The final step of the installation process of ladder type cable tray is cleaning and acceptance, which ensures the neat appearance of the cable tray and confirms that the installation is up to standard. First, use a clean cloth or air compressor to remove dust, debris, cement residues and fingerprints on the surface of the ladder tray, supports and accessories, especially the bending parts and connection joints, to avoid affecting the surface smoothness and corrosion resistance. If there are scratches or stains on the surface of the cable tray, use professional cleaning agents to clean them (avoid using corrosive cleaning agents to prevent damage to the surface anti-corrosion coating). Then, carry out a comprehensive acceptance according to the design drawings and installation specifications: check the installation position, spacing, flatness, levelness and connection firmness of the cable tray; check whether the surface of the cable tray is intact, without scratches, deformation, rust or other defects; check whether the special accessories are complete and installed in place. After the acceptance is qualified, the installation work is officially completed. If unqualified items are found, they should be rectified in time until they meet the acceptance standards.
Note
During the entire installation process, construction personnel should wear protective equipment (such as safety helmets, gloves and safety shoes) to ensure construction safety. In addition, pay attention to the protection of the cable tray surface during installation to avoid damage to the surface treatment layer (such as galvanizing, spraying) which may affect the corrosion resistance and service life of the cable tray.
Ladder Type Cable Tray by Hebei BD Fence Technology
Made of high-quality metal materials through precise rolling and forming process, our ladder cable tray has firm structure and stable overall performance. The optimized ladder frame structure greatly improves load-bearing capacity, and effectively resists bending and deformation under long-term heavy load. We provide three durable surface treatment processes: hot-dip galvanizing, powder coating and cold galvanizing, which ensure excellent corrosion resistance and rust resistance, adapting to various complex indoor and outdoor construction environments with a service life of more than 15 years.
Detailed Installation Process for Ladder Type Cable Tray
Its main applications cover a wide range of fields with high requirements for load capacity, corrosion resistance and service life.
In building construction, it is widely used for commercial buildings, office buildings, residential buildings, underground garages and supporting pipe network engineering, providing stable and safe cable laying channel with neat and standardized layout.
In commercial & industrial fields, it serves as ideal cable support for factories, workshops, warehouses, power plants, logistics parks and industrial zones, with excellent load-bearing performance to ensure stable operation of power and cable system
For public infrastructure, it is suitable for roads, railways, airports, ports, wharves and municipal engineering facilities, adapting to complex outdoor and indoor laying environments.
In energy and communication engineering, including substation, communication base stations and power transmission projects, it perfectly combines bearing function with pipeline layout, realizing standardized and orderly cable arrangement.
In construction and renovation projects, it can be used as temporary cable support frame, featuring convenient installation, strong stability and flexible applicability.
Core Advantages
Strong Load-bearing Capacity: Optimized ladder frame structure with reasonable stress distribution, stable supporting performance and large cable laying space.
Long-Lasting Durability: Weatherproof, corrosion-resistant and rust-proof, stable performance under high temperature, humidity and complex atmospheric environments.
Neat & Practical: Standardized overall shape, tidy cable arrangement, convenient for later wiring inspection and maintenance.
Cost-Effective: Modular combined structure, simple and fast assembly, reduces construction period and labor cost, with low later maintenance cost.
Excellent Flexibility: Adapt to various indoor and outdoor pipeline layouts, long-span laying available without additional auxiliary supports.