


A truck arrives at the jobsite with rolls of chain link mesh, bundles of steel posts and several boxes of fittings.
The mesh is easy to recognize. The small parts are where questions usually begin.
Which post goes at the corner? Where does the tension bar go? Is the coil of wire for tying the mesh or running along the bottom? Why are some bands different from the others?
These are installation questions, but they are also purchasing questions.
If the material list was prepared correctly, the pieces should already have a job before they leave the factory.
Here is how we look at a typical Chain Link Fence system.
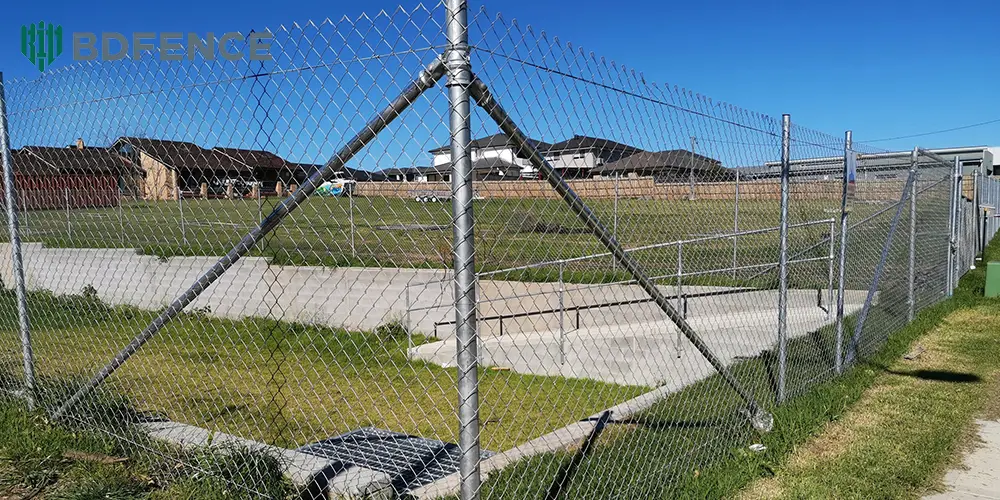
Before Digging Post Holes, Walk the Fence Route
Take the drawing and follow the proposed fence line.
A straight section is simple. Then comes a corner. Farther along there may be a pedestrian gate, another straight run and finally a vehicle entrance.
Mark those locations first.
They tell you much more about the required materials than total fence length alone.
For example, 300 meters of fence with no gates is not the same order as 300 meters containing four corners, two pedestrian gates and a vehicle entrance.
The mesh length may be similar. The post and fitting list will not be.
Put the Important Posts in First
We normally think about the end, corner and gate locations before the intermediate line posts.
There is a practical reason.
Chain link fabric will eventually be tensioned between these points. An ordinary line post supports the run between them, but it does not have exactly the same job as a terminal post.
At a corner, the fence changes direction. At an end, the mesh stops. At a gate, the fence stops and an opening begins.
These positions need to be shown correctly on the layout.
Once they are established, the intermediate posts can follow the required project spacing.
There Is No Universal Post Spacing for Every Fence
Buyers often ask us for the “standard” distance between posts.
We can discuss common project arrangements, but we do not like turning one number into a rule for every Chain Link Fence.
A low boundary fence and a tall industrial perimeter are different systems. A fence carrying privacy screening is another situation again.
Post section, wall thickness, fence height, mesh, gate locations, foundations and site exposure all matter.
If your project drawing already specifies the post spacing, use that information in the RFQ.
If it does not, send us the rest of the fence requirements instead of selecting a spacing at random.
What Happens to the Top Rail?
After the posts are in position, many Chain Link Fence systems use a rail across the top.
The rail does not simply sit on top of the mesh.
It forms part of the framework.
Along the straight run, it connects through the line-post arrangement. When the rail reaches a terminal location, the connection changes.
This is why rail ends, brace bands and related hardware appear in a complete fitting package.
One detail worth checking on a supplier quotation: is the top rail actually included?
Do not assume it is there just because the quotation says “complete Chain Link Fence.” Read the material list.
Now Unroll the Mesh
This is the part everybody recognizes.
The chain link fabric is brought to the fence line and prepared for attachment and tensioning.
Before going further, check the roll itself.
Is the mesh opening correct?
Is the fence height correct?
Does the wire match the ordered specification?
If the order uses gauge terminology, make sure both buyer and supplier are referring to the same gauge system. For international purchasing, actual wire diameter is usually clearer.
For PVC-coated Chain Link Fence, there is one more number to watch: the steel core diameter and the finished coated diameter are not necessarily the same thing.
That Flat Steel Bar Is Not a Spare Part
At the end of the mesh roll, a tension bar is inserted vertically through the chain link diamonds.
It gives the flexible fabric a firm edge.
The bar can then be connected to the terminal post using the specified tension bands and bolts.
Without this detail, there is no convenient rigid edge for attaching the full height of the mesh to the terminal post.
You will encounter this arrangement at appropriate fence ends, corners and gate locations according to the design.
The Coil of Tension Wire Goes Somewhere Else
Tension bar and tension wire sound almost like the same product.
They are not.
The tension bar is vertical and rigid.
Bottom tension wire, where specified, runs horizontally near the lower edge of the chain link fabric.
It helps keep that lower part of the mesh controlled between posts.
This distinction sounds basic, but it is useful when checking an export packing list. A project can require both products, and they should appear as separate items.
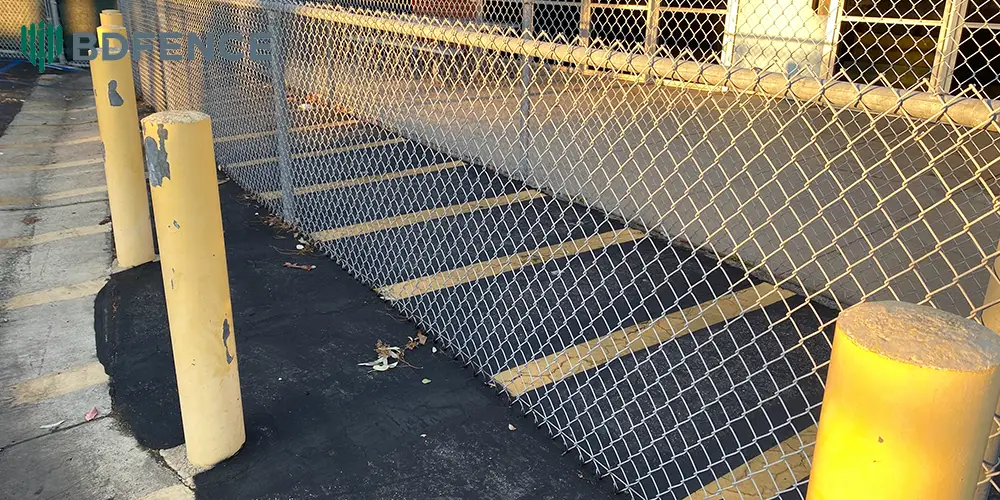
Look at the Bottom Before Moving On
The top of the fence usually looks neat in a drawing because it is represented by a straight line.
The ground rarely behaves that well.
There may be small rises, depressions or longer slopes along the perimeter.
The required ground clearance and lower mesh arrangement should therefore be understood before installation.
Do not solve a major level change simply by pulling the fabric differently from one post to the next.
If the project has obvious slopes, show them on the drawing or send the elevation information to the supplier when preparing the material schedule.
Open the Fittings Box
This box can contain a surprising number of pieces.
Caps. Bands. Bolts. Rail ends. Ties. Gate hardware.
They are small compared with a roll of mesh, but the fence will not be complete without the right ones.
A typical project may require several of the following:
- tension bands;
- brace bands;
- rail ends;
- post caps;
- line-post rail fittings;
- mesh ties;
- bolts and nuts;
- hinges;
- latches;
- project-specific gate or security fittings.
There is no reason for every fence to have exactly the same box of hardware.
The contents should follow the layout.
Tension Band or Brace Band?
This is another pair of parts that buyers sometimes group together as “fittings.”
During installation, their positions tell the difference.
Tension bands are used with the tension-bar connection at terminal posts.
Brace bands are associated with rail or bracing connections in the relevant fence arrangement.
So when calculating quantities, counting posts alone is not enough.
You need to know what happens at each post.
How Does the Mesh Stay Against the Line Posts?
The tensioned fabric still needs attachment along the run.
Ties or other specified attachment wire secure the mesh to the framework at the required locations.
This is not the same component as bottom tension wire.
Again, the pieces may look inexpensive on a quotation. Missing them is expensive in a different way: installers are on site with a fence they cannot finish.
Then You Reach the First Gate
Stop the normal fence calculation here.
A gate changes the list.
There are gate posts. There is a gate frame. There are hinges and a latch for a typical swing arrangement. Other gate types require their own hardware.
A vehicle opening deserves particular attention because a wide gate should not be treated as a normal mesh panel that happens to move.
Its frame and supports have their own requirements.
When requesting a quotation, write down every gate opening separately. “500m fence including gates” is not enough information for an accurate component list.
A Corner Also Changes the Count
Imagine pulling the chain link fabric along a straight line.
Now turn 90 degrees.
The corner post is no longer behaving like an intermediate line post.
The mesh run needs to terminate and continue according to the designed corner arrangement.
That means terminal-type connections and their fittings need to be considered when the BOQ is prepared.
For a large perimeter, forgetting several corners can leave the fitting quantity surprisingly far from what the installers need.
Adding Barbed Wire? Put It on the Drawing Now
Do not wait until the fence panels and posts are already ordered.
If the project requires barbed wire or another approved top-security arrangement, show it from the beginning.
The posts and top fittings need to coordinate with it. Gate areas may need corresponding details as well.
Project and local safety requirements should also be checked for the intended installation.
A Better Way to Order the Materials
Instead of sending a supplier one sentence—“Need 800m Chain Link Fence”—send a rough perimeter sketch.
It can be simple.
Mark:
- where the fence starts;
- each corner;
- where it finishes;
- pedestrian gates;
- vehicle gates;
- changes in fence height;
- major changes in ground level.
Add the mesh opening, actual wire diameter, fence height and finish.
That small amount of information makes the quotation much more useful.
Now the supplier can see a fence instead of only a number of meters.
When Two Quotations Have Different Prices, Check the Boxes
Imagine Supplier A and Supplier B both quote 800 meters.
The mesh specifications appear similar.
Supplier A is cheaper.
Before making a decision, look farther down the quotation.
Does it include the same posts?
Top rail?
Bottom tension wire?
Tension bars?
Terminal fittings?
Mesh ties?
Gate hardware?
Sometimes the price difference is a material difference.
That is why BDFENCE recommends comparing the complete supply scope, not only the price per meter shown at the bottom of the page.
What We Need for a Chain Link Fence Quote
If you already have a BOQ, send it.
If you have a fence drawing, even better.
If neither exists, a hand sketch with dimensions can still give us a useful starting point.
Tell us the fence length, height, mesh opening, actual wire diameter, finish and gate openings. Include top rail, bottom tension wire and top-security requirements if they have already been decided.
Also tell us the delivery destination.
If you are unsure about one specification, leave it open for discussion rather than copying a number from another project.
The Mesh Is Only One Line on the Packing List
That is probably the simplest way to remember this guide.
Chain link fabric is the part everybody sees, but the installed fence depends on everything around it.
Posts hold the line. Rails connect the framework. Tension bars finish the mesh at terminal points. Bottom wire controls the lower edge where specified. Bands, ties and bolts make the connections. Gates create their own small system inside the perimeter.
When all of those pieces have been specified together, installation becomes much less dependent on finding missing hardware after the shipment arrives.
FAQ
What goes in first when installing Chain Link Fence?
The fence route and important post locations should be established first. Ends, corners and gate openings need to be identified before the intermediate line-post layout is finalized.
Is tension wire the same as a tension bar?
No. A tension bar is a rigid vertical member used at the edge of the mesh. Tension wire runs horizontally, commonly along the bottom where the fence design calls for it.
Why does Chain Link Fence need a top rail?
Many systems use a top rail as part of the framework between posts. Whether it is required, and its exact specification, should follow the project design.
How do I know how many Chain Link Fence fittings to order?
Start with the perimeter layout. Straight runs, corners, ends and gates use different combinations of hardware, so total fence length by itself is not enough for an accurate fitting count.
Can I install Chain Link Fence on sloping ground?
Chain Link Fence can be used on sites with changes in ground level, but the fence layout, ground clearance and installation detail should suit the actual slope. Significant elevation changes should be shown before the material schedule is finalized.
Can BDFENCE supply posts, rails and fittings with the mesh?
Yes. BDFENCE can supply chain link mesh together with posts, rails, tension components, gates and related fittings according to the confirmed order specification.
Contact BDFENCE
Hebei Bendin Industrial Technology Co., Ltd. (BDFENCE)
Phone:
+86 18703182863
WhatsApp:
+86 18703287372
Email:
info@bd-fence.com
Website:
https://bd-fence.com/